Mail-art tips from Darren Di Lieto

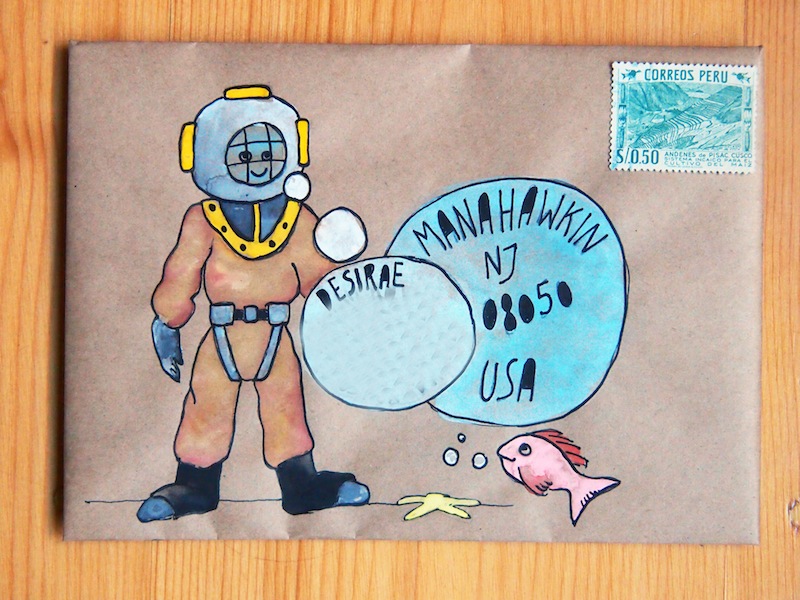


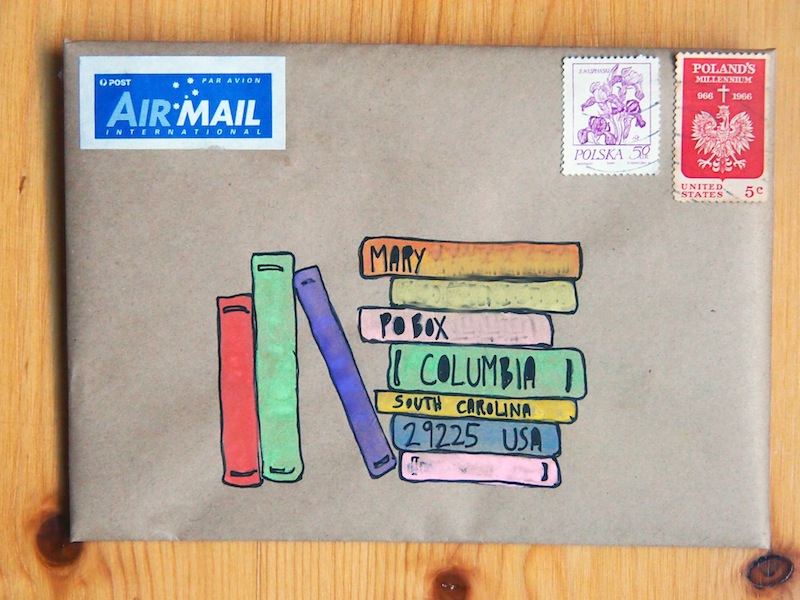
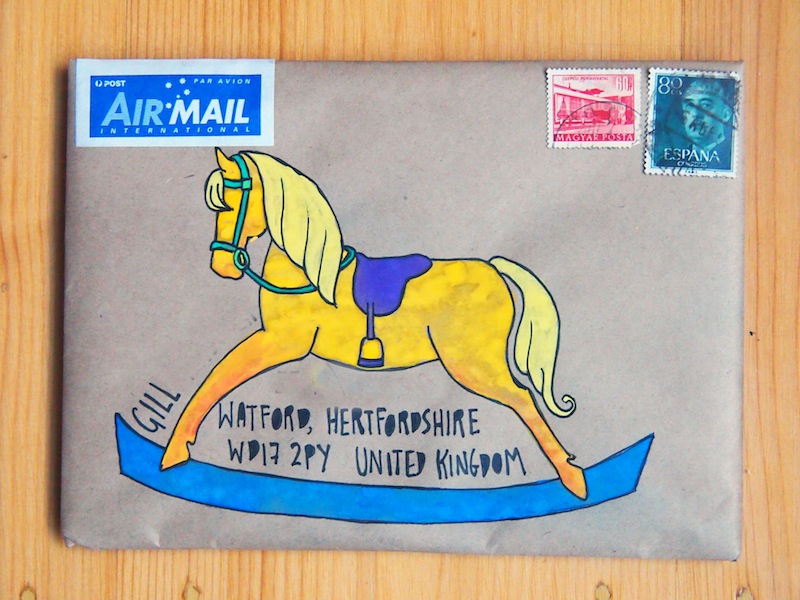
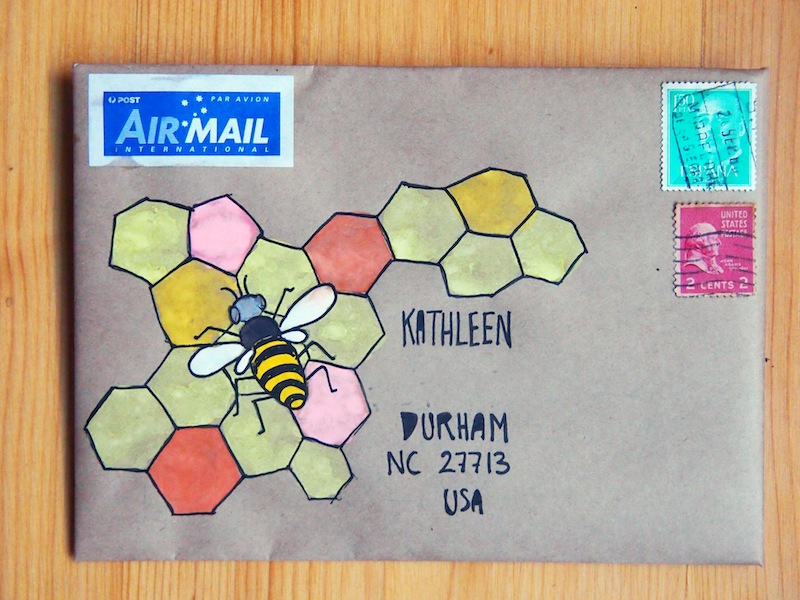
It’s been Mail Central around here lately, and here are 11 of my latest creations. The whole house smells of matches and sealing wax and take it from me, that scent should be made into a perfume. It is SO good.
In the spirit of making pretty mail, I thought I’d share some tips for making successful (ie. “safe to travel through the post”) mail-art from Darren Di Lieto, founder of the international mail-art phenomenon, Mail Me Art. Darren was kind enough to share these tips with me when I interviewed him for a book I’m writing right now, celebrating the heroes of mail; and the unique, the quirky, the joyful and the unexpected sides of snail-mail. Consider this a book teaser. I hope to share it with you soon!
Here are Darren's tips:
* Keep it simple and don't be too precious! With mail art it's not an artwork until it's been delivered.
* Be proud of the work, but don't coddle it, wrapping it to protect it defeats the point.
* If you have to use glue you'll probably end up with half of your work missing by the time it reaches its destination. Also paper cut artwork will normally struggle to survive.
* Expect water based paints to run (our poor postman is testament to this as he ended up covered in white paint one rainy morning).
* But don't worry about rips and tears, it's mail art and the journey it goes on becomes part of the artwork, damage and all.
* Also prepare yourself for the fact that mail does go missing, so always take a photo or scan before you pop it in the postbox.
ps. If you want to ease your way into making mail-art, get along to the Wild About Melbourne craft party for Etsy this Friday night. I've created two envelope templates for the party, with mail-art designs drawn onto them. All you have to do is cut out and glue together the template, and fill an address into the already created "art." You can then colour or paint or decorate it any way you wish. More here.