JOURNAL
documenting
&
discovering joyful things
Five-minute botanical postcards
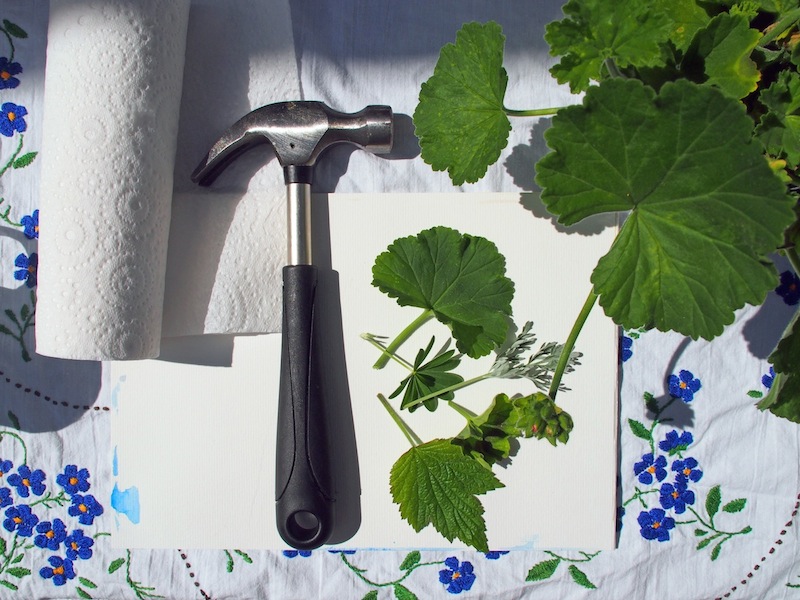
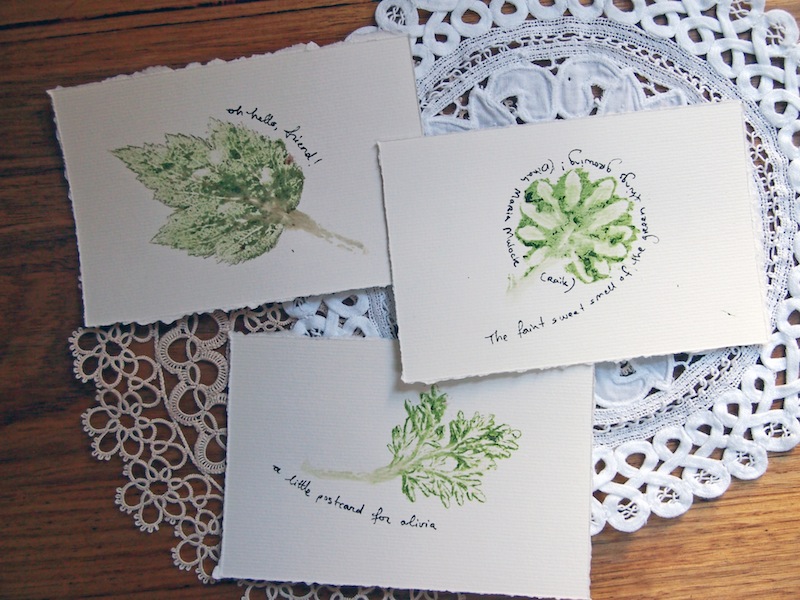
 These lovely, botanical postcards seriously take less than five minutes to make. Here's how to create your own:
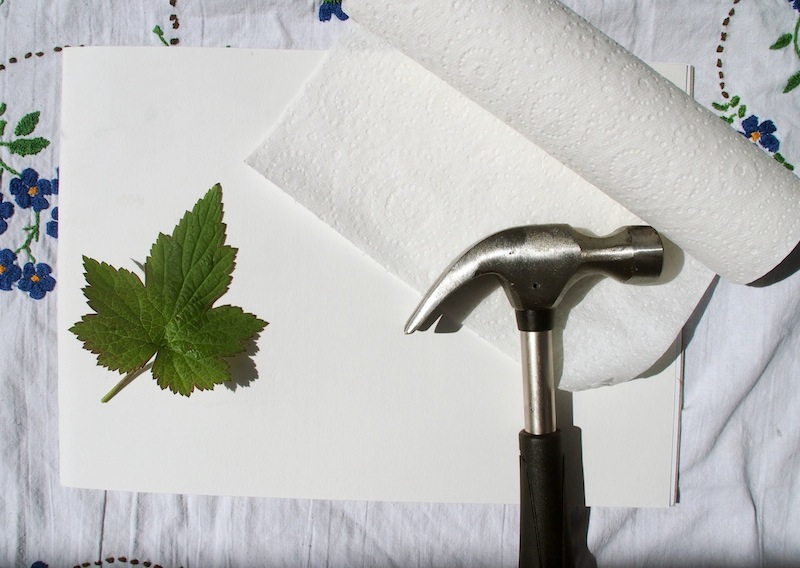
∧∧ Take a stroll around the garden and choose some leaves in shapes you like Pro-tip: For best results, choose leaves that are soft (like geranium), not hard (like eucalyptus), and beware leaves or stems that are too fleshy as you'll just create mush rather than patterns
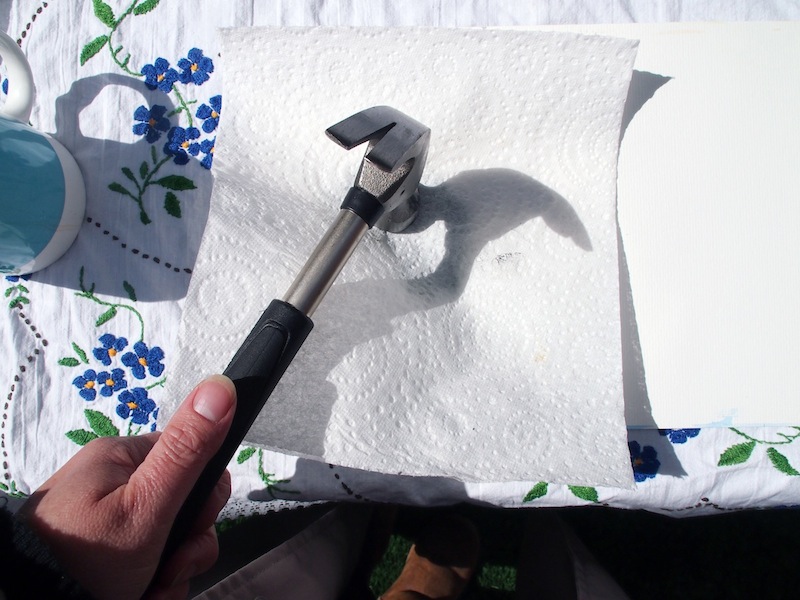
∧∧ Position a leaf on a piece of paper, then cover it with a paper towel Pro-tip: Try to have something flat-surfaced but cushioning underneath it, such as cardboard or several sheets of paper. You could also use a cutting board, that gets VERY loud
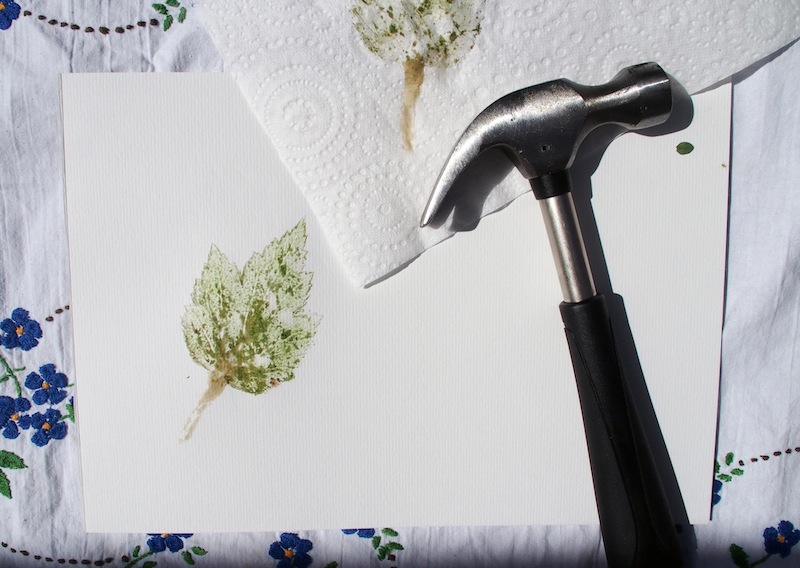
∧∧ Holding the paper towel in place, start hammering all over the leaf Pro-tip: Keep hammering until you can see the complete outline of the leaf in the paper towel, then hammer a bit more in the middle to fill it all in. Don't forget the stem
∧∧ Take off the paper towel and peel away the leaf to reveal your lovely stamp!
I made the postcards you see here using watercolour paper because it was thicker and could survive the post as a postcard. Once I'd created my botanical stamp, I just grabbed an old postcard and tore around it to get the size right. I also made some other stamps on standard copying paper, which I'll cut out and paste onto cardboard to create greeting cards.
This was a very child-friendly activity, with my three-year-old and my not-even-two-year-old both helping me, although much to their frustration I insisted on "helping" when it came to the hammering bit.
What do you think? Will you try making these?
Zines about snail mail
 Here is a thing that I didn't know was a thing, until recently: zines about snail mail. I wrote one, I know, but I thought I was the odd one out. Turns out there are other odd folks like me out there, making odd things like I do. Recently I ordered a bunch of these zines about snail mail. All in the name of research, you know?
 ^^ Good Company by Michelle from Busy Weekends: a little intro "how to" and ideas resource for people new to snail mail
 ^^ Winged Snail Mail (several volumes) by Sarah E Hoffman of Winged Snail Mail: a handy series reviewing other snail-mail zines (this snail-mail-zine thing is SUCH a thing. How did I not know?)
 ^^ Postal Embroidery by Britta Jarvis of Jaguar Snail: cute little snail-mail inspired embroidery ideas (not actual patterns)
 ^^ The Frequency Mailers' Club by Emily Alden Foster: a lovely and poignant story of a quirky pen-pal club between friends, and how friendships shift and change
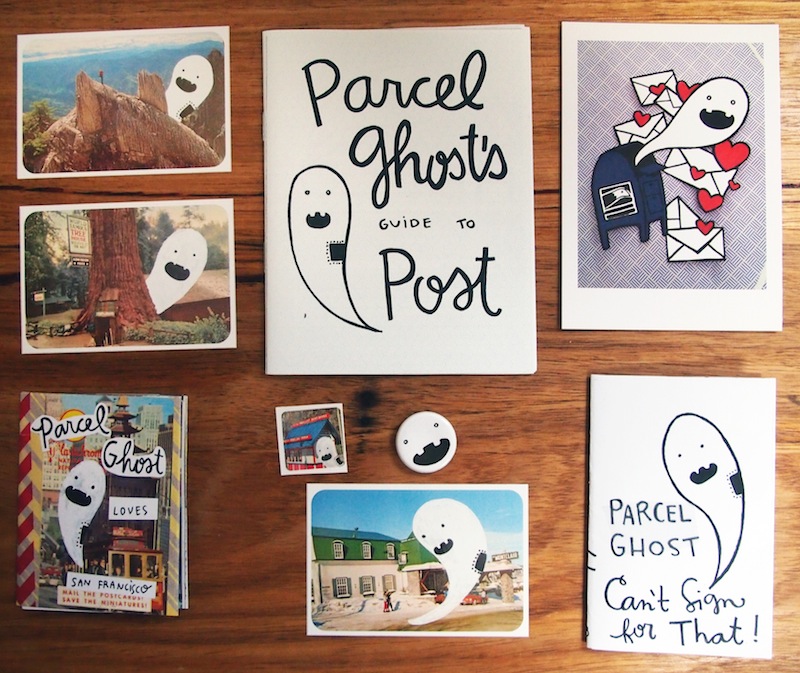 ^^ Parcel Ghost's Guide to Post (and other zines), by Marissa Falco: a series of fun and educational zines for children, starring "Parcel Ghost," a long-dead spirit who was once a postman
 ^^ Postal Adventures (vols. 1 & 2), by Marian Krick of Quietly Written: advice and creative ideas for getting started writing to pen pals
And that's just a start. There's more out there, folks. Zines specifically about snail-mail, made by these ladies, and others as well. I'm curious: who buys and reads these zines, other than me? I mean seriously? I want to meet them! Hello out there, fellow snail-mail-oddities! Thanks for making and writing and reading!
Tactile
Is there anyone who doesn't like playing with clay? I mean, you may or may not fantasise about THAT scene in Ghost, and anyway that's none of my business, but I bet if I handed you a lump of clay right now, you'd start manipulating it. Rolling, flattening, squeezing, shaping, smoothing…
There is something so wonderfully tactile about clay that makes it almost impossible to resist. Even more-so if you harbour dreams of creating beautiful things, and even more than that if you happen to be a three-year-old well-practiced in the art of play-dough, who ALSO harbours dreams of creating beautiful things.
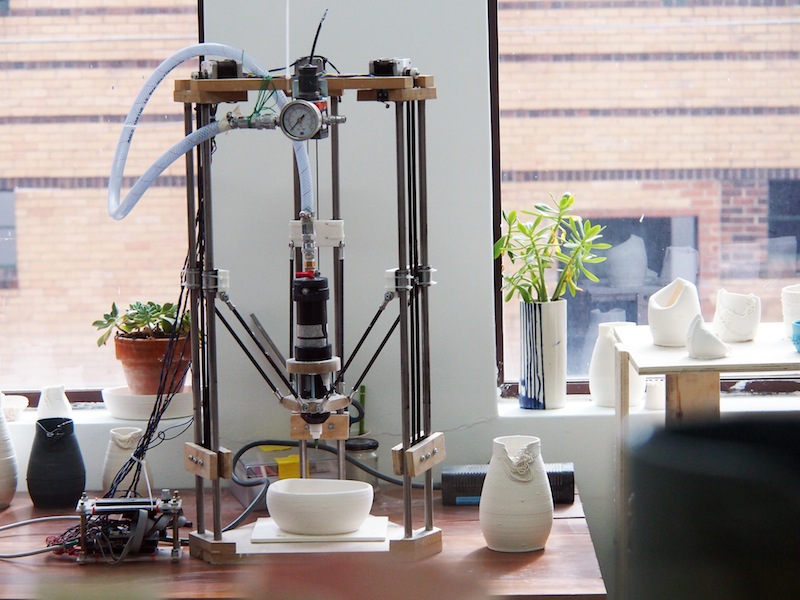
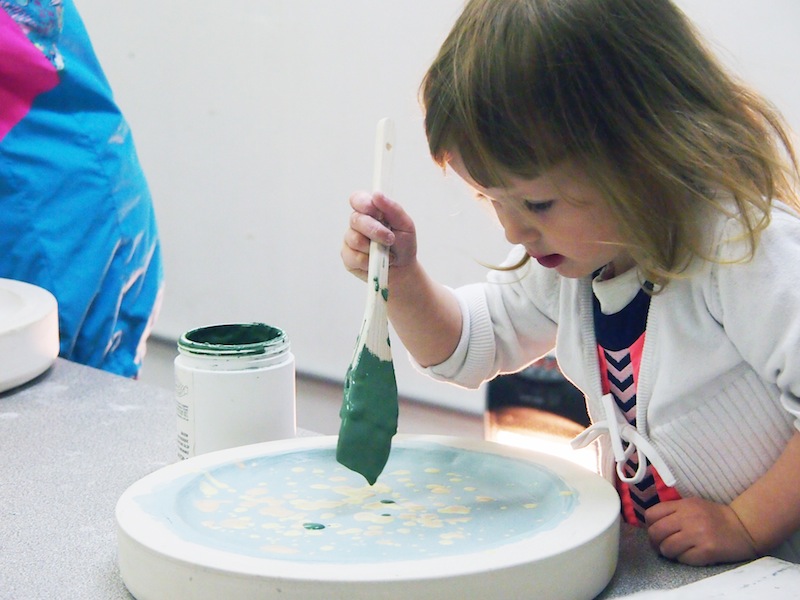
We were at the Northcote Pottery Supplies open day a couple of weeks ago, and Scout was in her element. She made a plate: she shaped it, smoothed it, trimmed it and painted it and was incredibly proud. And then she held my hand and insisted on taking a tour of the entire studio, upstairs and down, watching demonstrations and visiting every individual artist in turn.
Now, Scout wants to make something more. I want to make something too! How about you? Do you want to make something with me?
Dad turns 70: the party ideas edition
Here are some of the little party ideas we've been working on during the past several months, to create fun surprises for my Dad and his guests at his 70th birthday party.
Save-the-date cards
ΔΔ I had some simple postcards printed up. On the front was a picture of Dad when he was about two, and a cryptic note at the bottom saying "Guess who's turning 70? Save the date 22 August 2015."
The clue was on the back. There, I wrote their addresses (of course), but those who looked carefully would also have noticed that the 70c stamp was actually a picture of my Dad today. Order personalised stamps from Australia Post here.
Invitations
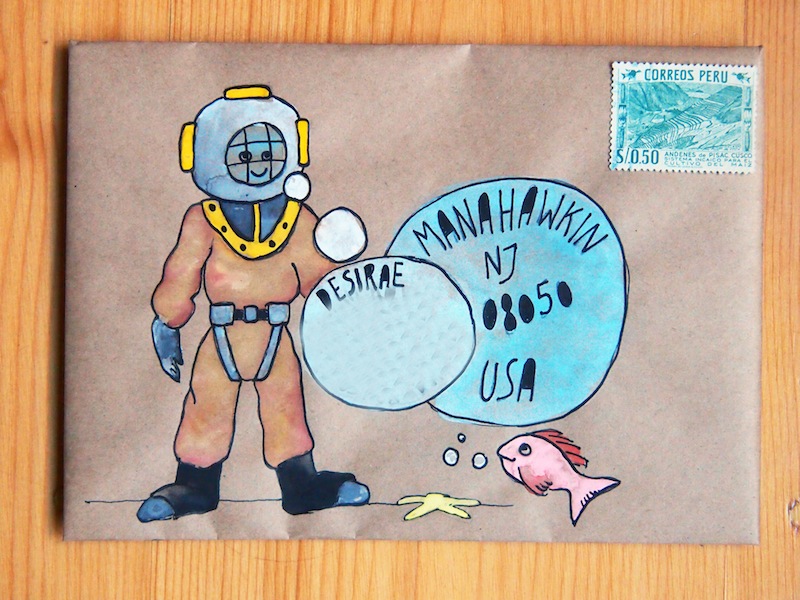
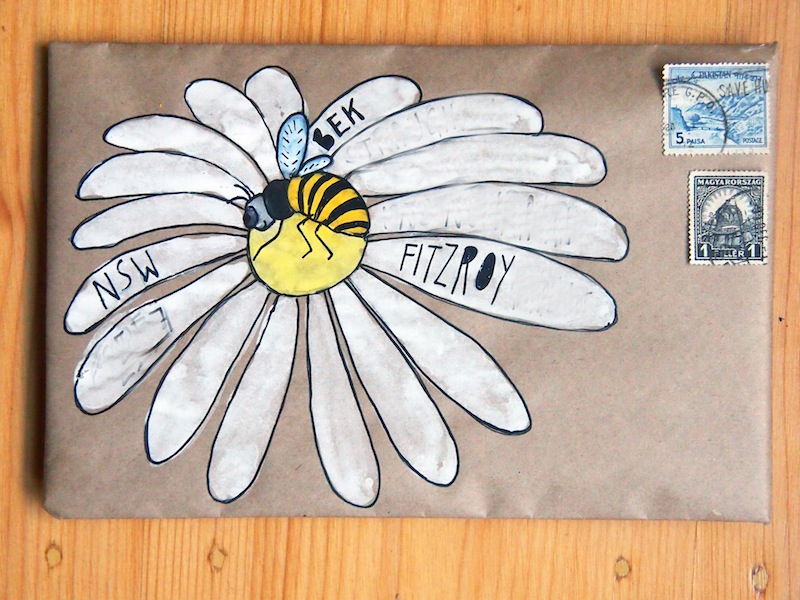
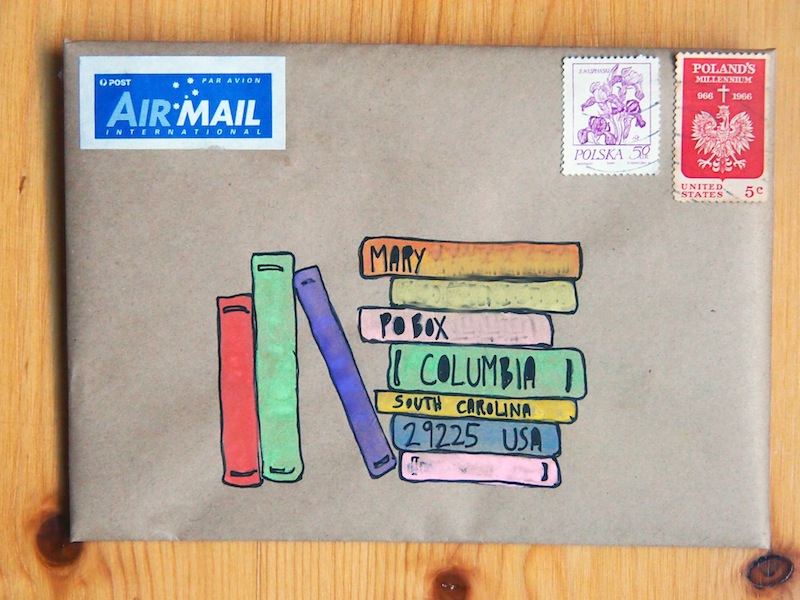
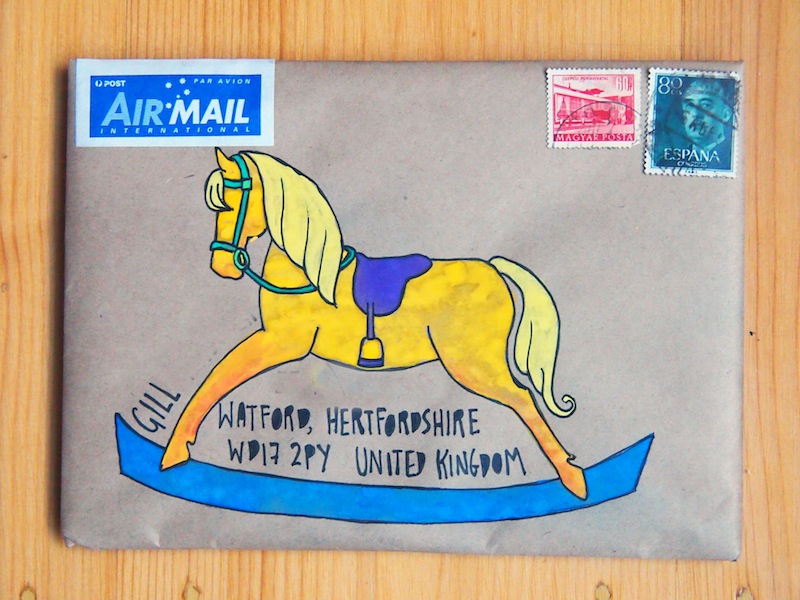
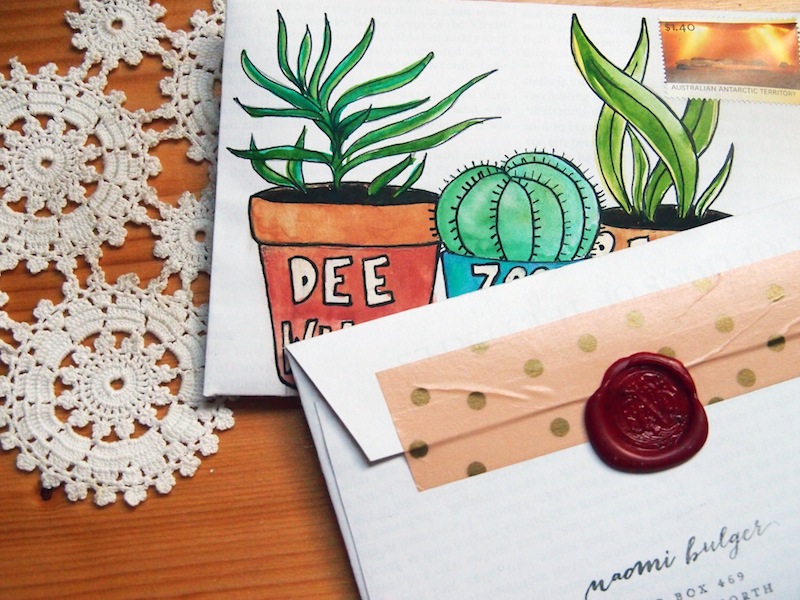
ΔΔ I shared some of the mail-art I painted for the invitations that you see here in an earlier post. This is what was inside the boxes I sent.
When Dad's invitees opened their mail, they found a plain, white box. Inside the box was an old View Master. As they held it to their eyes, it took them through a little seven-slide "This is your Life" for my Dad. So, for example, the first slide was a black-and-white photo of my Dad when he was only a few months old, sitting in a bucket on the verandah. I wrote "It was 1945. Baby Paul took a bath in a bucket." Then on the next slide, my pre-teen Dad learned to ride a bike. I showed him meeting my Mum, being a father, building our house, those kinds of things. The final slide gave all the details of the party.
I used Image 3D to create and order my View Masters and slides. I found them very quick and great quality, despite the somewhat dodgy looking website. We ordered one set first, just as a test, before placing the order for 55. They get significantly cheaper per unit the more you order.
Secret book
ΔΔ Via a series of elaborate lies, I spent months collecting information and resources from Dad and the people close to him so that I could create a secret book for him about his life.
I collected old photos, mementos and newspaper clippings; recollections from Dad about his life and the lessons he had learned during the past 70 years; stories from Mum about their courtship and how Dad proposed (I can't believe I had never heard this story before!); and stories and memories from Dad's sister, my brother, and some of Dad's closest relatives and friends, so the book would be a warm and surprising read, both for Dad and for future generations.
The book is roughly chronological in order, starting with Dad's childhood upbringing, then meeting and marrying Mum, work, being a parent, building his own house, travelling, and becoming a grandfather.
I created this book using Artifact Uprising, since I'd used them before and loved the service and quality. This book was a 100-page hardcover book with linen cover and a dust-jacket, and I also ordered a box made out of reclaimed wood to store the book, with a photo of Dad printed on the top.
Stories and anecdotes
ΔΔ Along with the secret book, I made a second book using Artifact Uprising that was the same size as the other, but in soft cover. I chose a cute photo of my Dad as a toddler to put on the front (how amazing is that technicolour yellow knitted jumpsuit! and those curls!), and then on the first page wrote some words inviting people to jot down their thoughts and memories of my Dad on the blank pages that followed.
We passed this around during the party so that people could fill the pages with messages for Dad. They shared some fantastic stories and moving tributes.
Famous RSVPs
ΔΔ Back in January we wrote letters to a series of international dignitaries, inviting them to come to my Dad's party. Somewhat surprisingly, none of them could make it ;-)! I collected all the RSVP notes and put them in a folder to give to my Dad and display at the party.
So when people came to take a look at the folder on the table, they saw a letter from the Queen of England wishing my Dad a very happy birthday, a letter from the President of France expressing his deep regret that he couldn't join us for lunch in Katoomba, the International Olympic Committee President wishing his schedule could have allowed him to make it, and many more. The Mayor of the town in Brittany where my father's family lived for many generations wished him well, and sent me colour photocopies of a page in a Baptism Register from the 1780s, showing the birth of my father's ancestor Jean Louis.
Hand-lettered name-cards
ΔΔ Never underestimate how long it will take to measure, cut, fold, pencil, erase and fill-in 75 place-cards, and don't leave this task until after dinner on the night before the party. That's just a tip from me to you.
The Most Beautiful Letter You Have Ever Written
Come join me and a host of gentle, creative, like-minded people in my five-week letter-writing and mail-art course, delivered entirely online. This course is all about creativity, personal connections, and spreading joy to others through the old-fashioned postal service. Learn more or join in here.
Postcards for posties
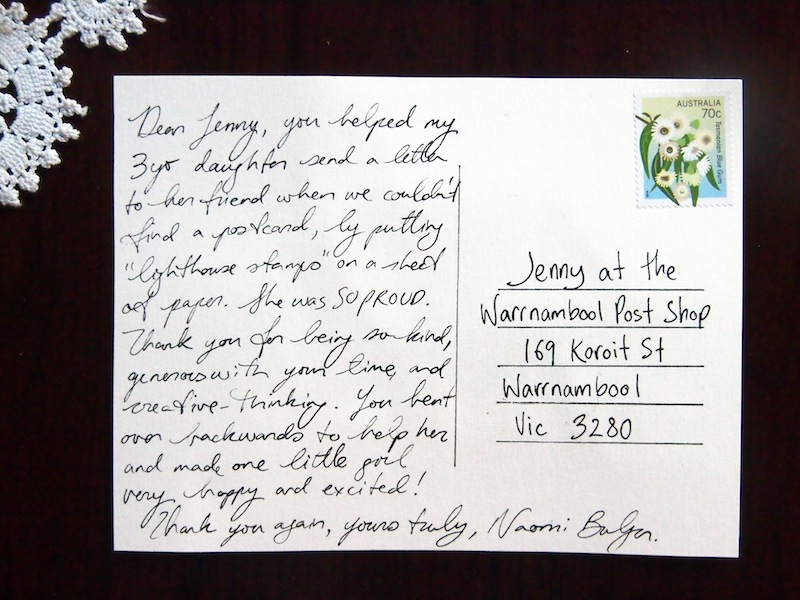
A little while back when we were in Warrnambool, a woman at the post office did us a kind turn (explained above) by coming up with a creative solution when Scout was crying because she couldn't find a postcard to send to her friend.
It was a little thing, but it made the world of difference to my little girl. We were so touched at this woman's thoughtfulness and creativity that, when we got home the next day, I painted up a postcard of my own, and sent it to the Warrnambool post office, to say thank-you.
I'm thinking I should do this more often. There are plenty of other posties I could thank!
For example, at my local post office, I only recently learned that when I send mail-art, if the addressee's country is not written in the same section and colour as the rest of the address, the mail gets returned. But nothing has ever been returned to me and all my mail (as far as I know) has always made it to its destination, because the lovely couple who run the Carlton North post office handle the returns themselves, rather than passing them on to me, and draw circles around the countries to make sure they won't be missed again. I should make them a postcard to say thank-you.
When I sent out the mail-art invitations to my Dad's birthday party, a large number of them all went to the same country town where my Dad lives. Those must have been quite bulky and annoying, en masse, for the poor, hard-working, mountain postie to deliver. I should write him or her a postcard to say thank-you.
So many of our posties go above and beyond to deliver the mail on time. I reckon I could think of at least 10 other posties who deserve a thank-you postcard from me today. How about you?
Find time for yourself
 Find time for yourself.
Feel it no shame at proper periods to be doing nothing.
Make seasons for leisure and for recreation.
Climb the hills; scour the valleys; row on the river; stroll along the beach.
Cultivate the friendship of the fields and the ferns and the flowers.
Laugh with the young folk and romp with little children.
Be at your ease.
Let the mind swing into an easy balance, a natural poise, an attitude of perfect repose.
The restless soul, eternally doing something, never accomplishes anything.
It is the person who can sometimes be at rest who produces the finest work in the long run.
Find time for yourself!
This piece was shared by Pip Lincolne recently at the end of a fun (and timely, for me) list of pick-me-up things to do when you're not feeling so great. FW Boreham was one of the most prolific and celebrated Australian authors of all time, although he is lesser-known today, and Pip recently discovered he was also her great grandfather.
I hope she doesn't mind me sharing his words again here. I found them so refreshing: the permission and indeed encouragement to take time out. To do nothing. Recognising the value and importance of down-time, not only for productivity (which is of course important), but also simply for happiness!
When you consider that FW Boreham was writing from a Baptist perspective during a time when the Protestant work ethic was at its height, you can perhaps appreciate even more how revolutionary, intelligent and kind those words must have been to those who read them back then, as well as now.
And I have been taking time out. I've been coughing and crafting and reading and writing in not-quite-equal measure. I've been romping with little children. I've been going to bed early. Sometimes. I've given myself permission to not have to update this blog quite so often, although I miss it, and hopefully soon all that "time out" will lead to more productivity, here and elsewhere. We will see. I'm not pushing myself!
In the meantime, THANK YOU Pip and Frank (FW). This was exactly what I needed to read this morning, to start the day in the best possible way. I hope it helps you guys, too.
Photo is by Mikael Kristenson, and is licensed for use under Creative Commons Zero
Do you want to know how letterpress works?
Every time we learn something new, we gain more than skills and knowledge. Often we gain confidence, or a sense of purpose, or a sense of achievement, or creative inspiration to do more, try more, experience more, learn more. Learning brings SO MUCH GOOD, even learning things we don’t necessarily want to learn, or think we need.
Like that time my friend Cara was having a birthday and she had always wanted to learn the trapeze so I bought her trapeze lessons… and then she insisted that I be her buddy (because the lessons were for two). And I didn’t want to do it because learning the trapeze was her dream, not mine, and, if we were going to get down to the nitty-gritty, I was afraid. But I loved Cara and Cara wanted the buddy to be me, so off we went on the train, giggling nervously.
And the next minute I was climbing that ladder and it didn’t look so high from the ground but as I was climbing it just kept going up, up, up and by the time I got to the top and was leaning out over the platform waiting to catch a flimsy metal bar as it swung towards me over the abyss (go with me here, I’m talking about FEELINGS), I started shaking uncontrollably. I mean my leg was visibly quivering, like an Elvis dance in fast-forward. And the acrobat behind me was yelling “GO NOW” but I couldn’t make that shaky leg shift, and timing was everything when it came to catching a trapeze, so the next time the swing came back towards me I felt a massive shove behind my knee* and launched forward, catching that bar with my chalky, sweaty hands just as my toes touched air.
It felt like an impossible task but two turns later I was back up that ladder, launching out to catch the bar, swinging myself upside-down to hang by the knees, arching backwards, reaching out, and flying - momentarily - through the air, before catching hold of the strong hands and wrists of somebody else, also upside-down, in a perfect combination of timing and trust.
On the way back home on the train, Cara and I felt invincible. We were gods! We could do anything! And I thought, what am I doing here? I have been talking about moving to New York for SIX YEARS. Why do I keep talking about it? What’s the point of talking? And so that very week I gave notice at my job, bought a plane ticket, and started packing. Sure, I was making an international move with no money, no visa, no job and nowhere to live… but I could FLY. What’s a move to another country, when you put it all into perspective?
So far nothing QUITE so life-changing has followed my lesson in letterpress, but as I drove home through the rain I was reminded of the trapeze lesson all those years ago, because as I drove it was with that same elation of having learned something new, having set myself a task and achieved it, and of having new creative opportunities opened up to me. And just like the trapeze, I never would have done this without a bit of a shove.
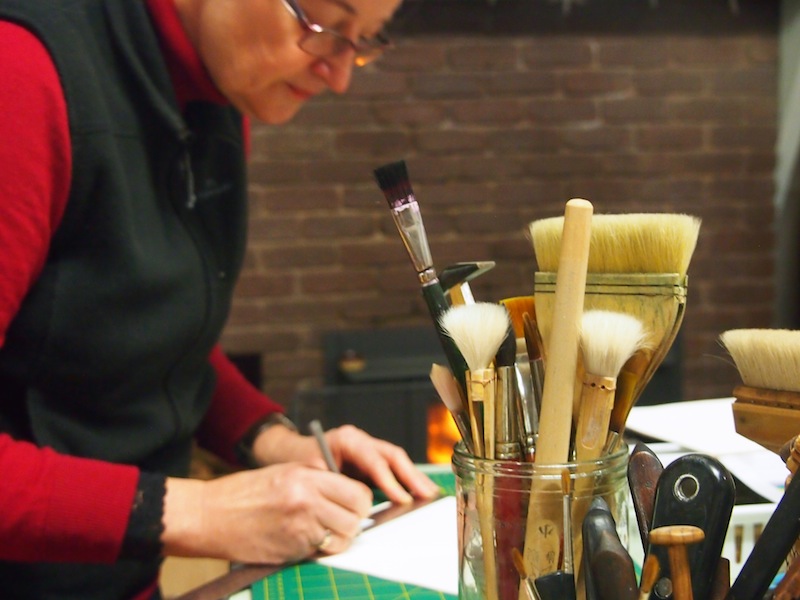
In the lead-up to Mother’s Day we did that old dance, the one where Mr B says “What would you like?” and I say “I don’t need anything, just let’s go out to lunch and spend time together as a family,” and I mean it because OF COURSE there are lots of things I would like: I’d like a pony, for instance, also a million dollars, but, well, you get my drift. And then his face lit up and he said “I know!” and he pulled out his iPad and before I knew what was going on, Mr B had sent off an email to Dianne Longley, who he had met at the Lost Trades Fair, asking her about giving me a private lesson in how letterpress works, and helping me understand what methods I might want to pursue. It was done before I knew what it was, and a few weeks later I found myself driving alone through rain and fog to Dianne’s wonderful, warm studio up in the Central Highlands of Victoria, ready to spend a day of learning.
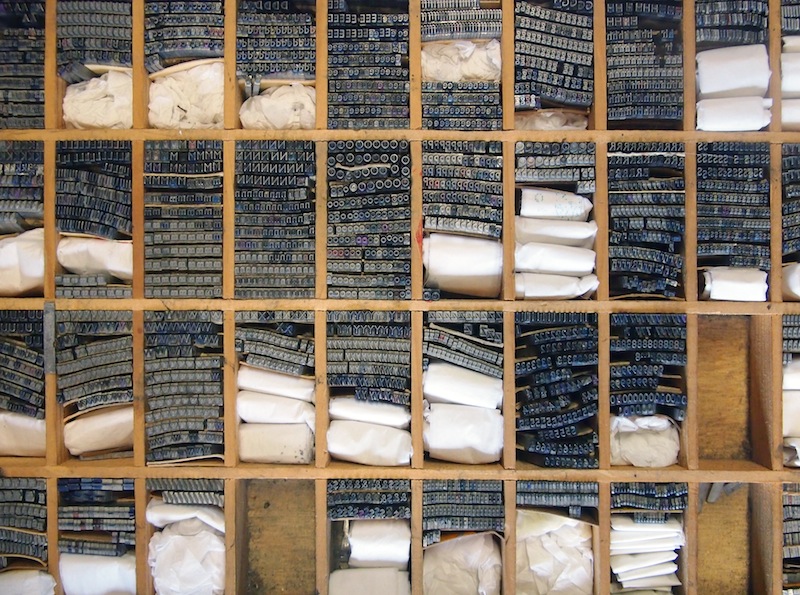
I’ve often wondered, not in a keep-you-up-at-night way but definitely in a passing “wait a minute” way, how all those letterpress cards you see with beautiful, whimsical drawings work. I mean, my understanding of letterpress was that it was a mini printing press, right? So you place all those little metal letters into reverse order, ink up a plate, and press them through the ink onto the paper. So… how do they get the drawings?
The night before my lesson, I sketched up a picture of a butterfly that I wanted to use on the cover of my little zine on practising kindness (the butterfly effect, you know?), and brought it with me, just in case. With Dianne’s help, I created several covers of the zine, which I’ll start sending out to people soon. (Once it was printed I realised I’d made the butterfly too big, and too close to the edge of the page. If you get one of these, you’ll be holding onto my FIRST EVER letterpress attempts, so please forgive me my mistakes in the learning process).
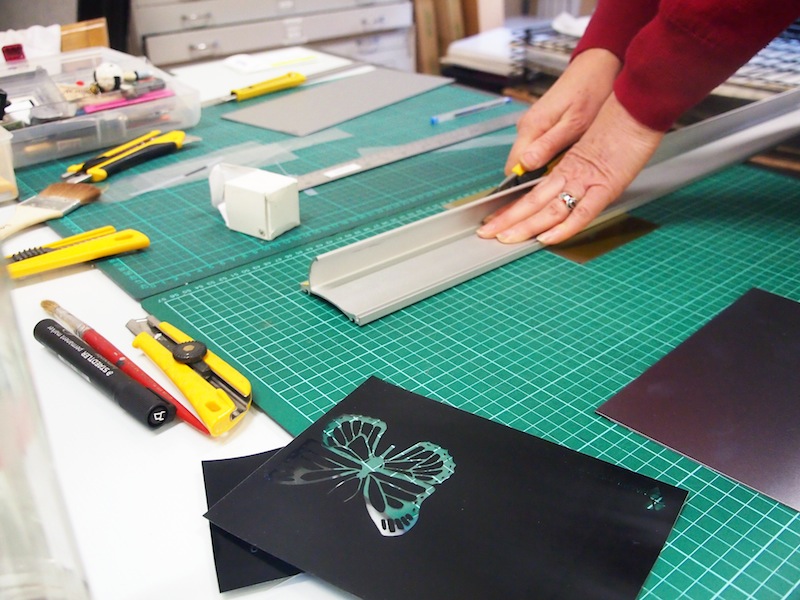
In case you’re wondering too, here’s what you have to do to turn a picture of a butterfly into the cover of a zine, using letterpress (the basic version):
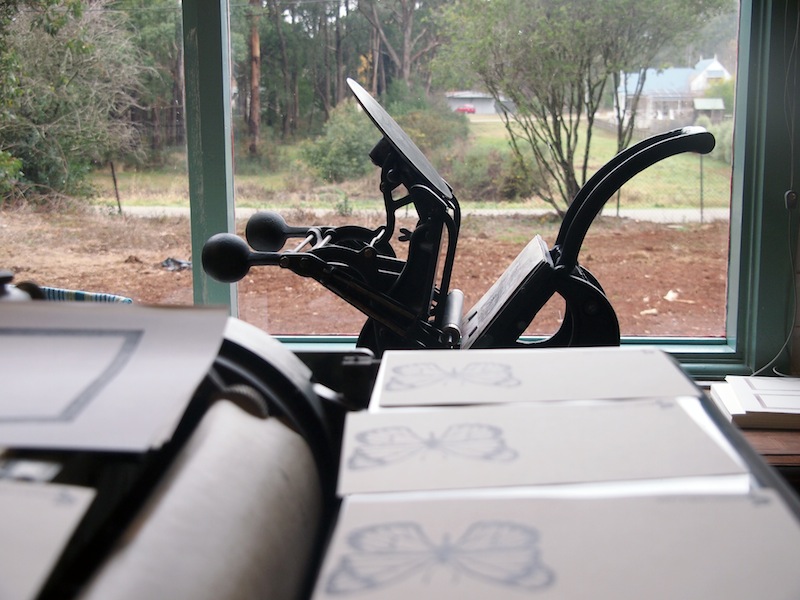
1. Scan the drawing in very high res, then open it up in an editing program 2. Reverse the image so it looks like a negative 3. Print the negative image onto clear plastic (like one of those overhead-projector sheets) 4. Cut out a piece of photopolymer plate slightly smaller than your drawing, place the drawing on top of the plate, then expose it to UV rays. You can do this outside on a sunny day, or use a UV light box. The light will burn away the negative parts of the image, creating a relief in the shape of your original drawing 5. Gently wash away the residue from your plate, in a basin of lukewarm water 6. At this next stage, Dianne put the plate in some other kind of machine for a few minutes to harden it. I can’t remember what that was 7. Depending on how many prints you want to make, you’ll choose your letterpress machine. I had unwittingly drawn my butterfly a few millimetres too big to use the antique tabletop platen press one would usually use for a job like this. So instead, we mixed up some ink with fixer, and used a bayer (roller) to evenly cover the plate with ink. Then I carefully positioned my paper over the plate, and pressed it all between some sheets of thick cardboard in an antique, cast-iron book-press. Doing this one at a time was pretty slow, but I was only making a few covers so that was OK
The end. You can see my butterfly print in the photographs above.
I was so inspired by this lesson (learning does that, I told you!), and I am saving up for another lesson. The next time, I’ll hone my drawing for the cover, AND I want to print it onto thicker paper-stock to get that embossed feeling that I love about letterpress (incidentally, Dianne told me the embossing/de-bossing is a modern phenomenon: way back when, that was considered a mistake, which makes sense when you consider letterpresses were used to print entire books), and Dianne tells me we might be able to letterpress my entire zine!
What about you? Have you learned anything new lately?
* The next day later, wondering why I felt so stiff and sore behind my knees, I looked and found big bruises where they had actually kicked me to make sure I leapt off that platform in time!
Mail-art tips from Darren Di Lieto
It’s been Mail Central around here lately, and here are 11 of my latest creations. The whole house smells of matches and sealing wax and take it from me, that scent should be made into a perfume. It is SO good.
In the spirit of making pretty mail, I thought I’d share some tips for making successful (ie. “safe to travel through the post”) mail-art from Darren Di Lieto, founder of the international mail-art phenomenon, Mail Me Art. Darren was kind enough to share these tips with me when I interviewed him for a book I’m writing right now, celebrating the heroes of mail; and the unique, the quirky, the joyful and the unexpected sides of snail-mail. Consider this a book teaser. I hope to share it with you soon!
Here are Darren's tips:
* Keep it simple and don't be too precious! With mail art it's not an artwork until it's been delivered.
* Be proud of the work, but don't coddle it, wrapping it to protect it defeats the point.
* If you have to use glue you'll probably end up with half of your work missing by the time it reaches its destination. Also paper cut artwork will normally struggle to survive.
* Expect water based paints to run (our poor postman is testament to this as he ended up covered in white paint one rainy morning).
* But don't worry about rips and tears, it's mail art and the journey it goes on becomes part of the artwork, damage and all.
* Also prepare yourself for the fact that mail does go missing, so always take a photo or scan before you pop it in the postbox.
ps. If you want to ease your way into making mail-art, get along to the Wild About Melbourne craft party for Etsy this Friday night. I've created two envelope templates for the party, with mail-art designs drawn onto them. All you have to do is cut out and glue together the template, and fill an address into the already created "art." You can then colour or paint or decorate it any way you wish. More here.
DIY mail-art envelope templates
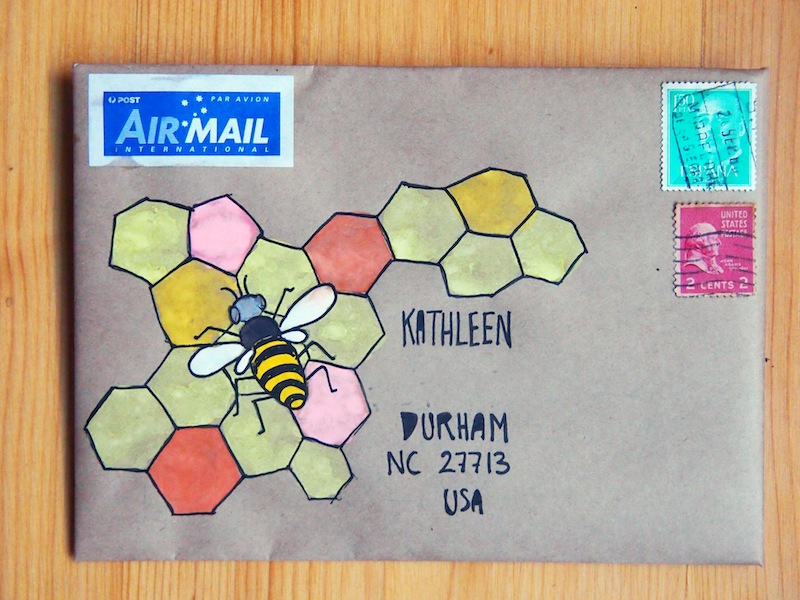
Would you like to make these envelopes to send to a friend? I have collaborated with Deanne Wild from Wild About Melbourne to create some easy-to-make mail-art envelope templates for the guests at her upcoming Etsy Craft Party on Friday.
The party theme is "paper taking shape," and all craft supplies will be provided. Deanne invited me to create a line-drawing for the event, given the growing trend for "adult colouring-in" as a fun craft activity. A couple of emails back and forth later, and we decided I'd provide an envelope template with a mail-art drawing for colouring-in or painting or collaging over or whatever the heck your craft-of-choice might be. You simply cut out the envelope shape (I also lined mine with a page from a botanical text-book to make it a bit more substantial), fill in the recipient's address, and go to town making it pretty!
If you'd like to try mail-art but you're not sure where to start, get on down to the Wild About Melbourne Etsy Craft Party in Thornbury THIS FRIDAY NIGHT. You can have a go at my mail-art templates (I made two because I wanted to give people a choice of styles), and a whole heap of other exciting craft projects, all in the company of a lovely group of like-minded people. Get more information here, and book your tickets (only $10) online here.
19 cheap or free ways to practice kindness, randomly and intentionally
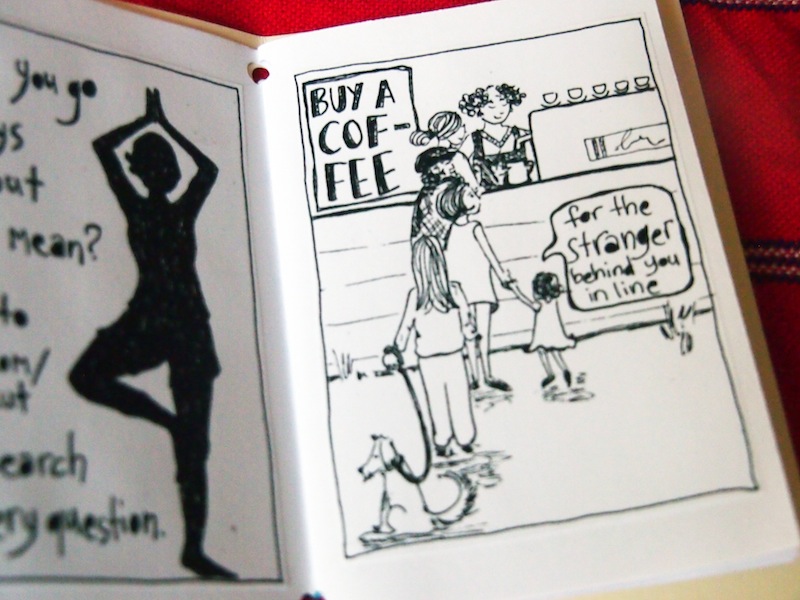
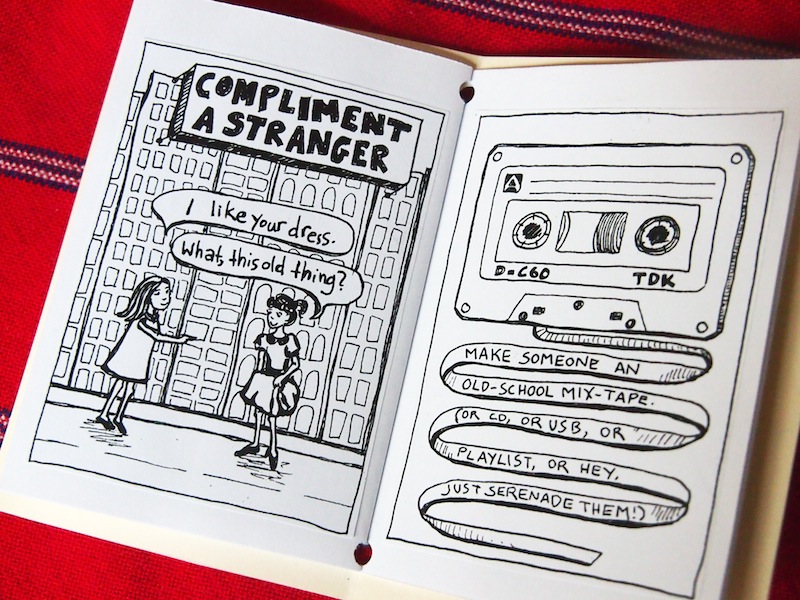
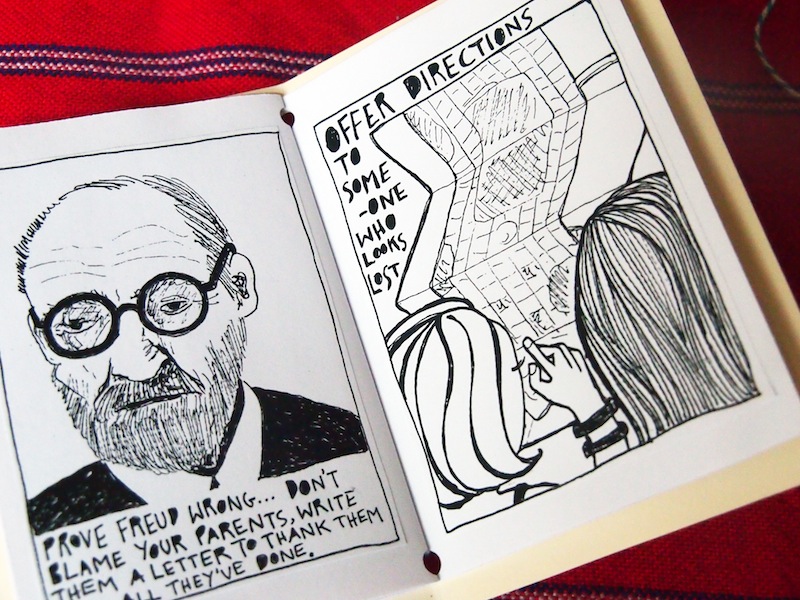
 I've made a new thing. Do you remember the zine I made recently on snail-mail? I've been drawing and pasting again but this time, the zine is about kindness. Specifically about random acts of kindness, but also intentional acts of kindness.
I agree it's important to cultivate an attitude to life that leaves us open to performing random acts of kindness. To being open to opportunities when they present themselves, to do something good or nice or kind for others. But I also think it's equally important to be intentional about kindness. To deliberately plan - strategise even - to make the world a happier place, and spread kindness.
So this little zine is just a fun little book of ideas and inspiration for me, and maybe you would enjoy it too?
I'm going to make 10 copies to send to blog-readers. They are all hand measured and cut and pasted together, which makes them satisfyingly substantial to hold and read, but means that every copy takes me several hours to make. One of these days I'll get to a print shop that can correctly align front and back photocopying for me, and then I'll be able to make many more copies of both zines, and send them to you if you'd like them.
Naomi xo

