JOURNAL
documenting
&
discovering joyful things
Match-box conversation hearts
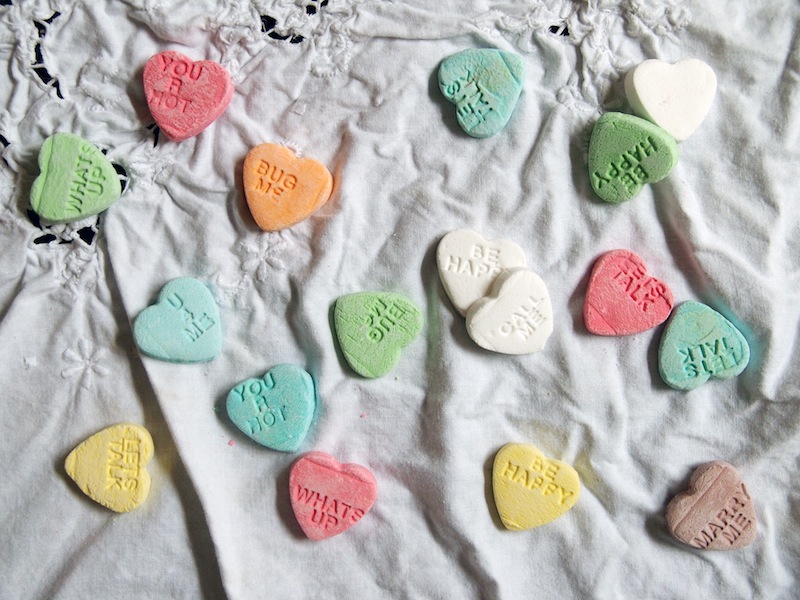
Oh hello! *waves in enthusiastic and dorky manner* Remember me? I am so busy finishing my book that sometimes I don't get time for writing in this blog, but I have so many posts in the wings that I can't wait to share with you. Hopefully I'll get my time-management act together and can revisit this tiny and lovely community that is You Folks a lot more often. I really love this space. I love how comfortable it feels, how like-minded we all feel, even when actually we are quite different and diverse and opinionated and creative and quirky (because how boring would things be if we weren't), but on the MAIN THINGS (kindness, openness, encouragement, friendship) we are all on the same page, I think.
NEWS ALERT. Oh my goodness HOW EXCITING are the updates on the Serial podcast lately? If you listened to Season 1 but then kind of dropped back off, drop back in!! After almost 16 years, a new hearing on Adnan Syed's case is happening in Baltimore RIGHT NOW and you can follow what is going on each day on Serial. It is crazily compelling.
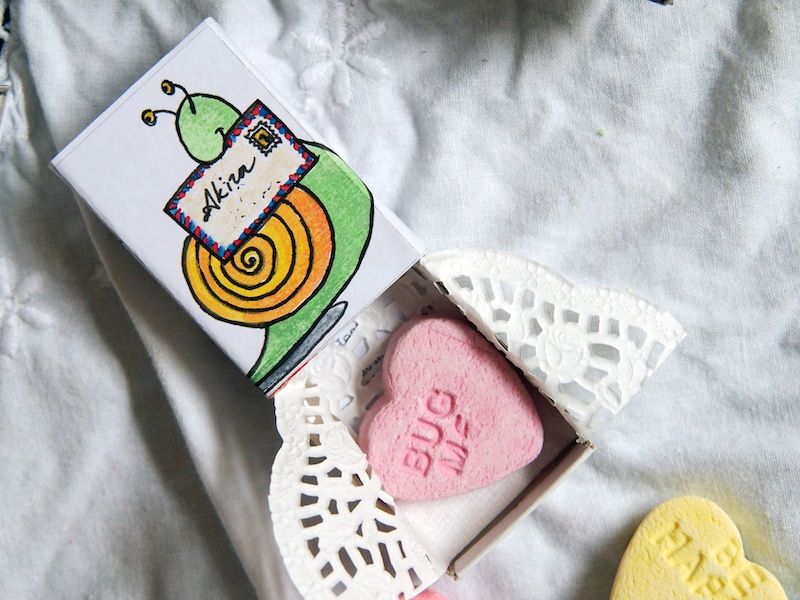
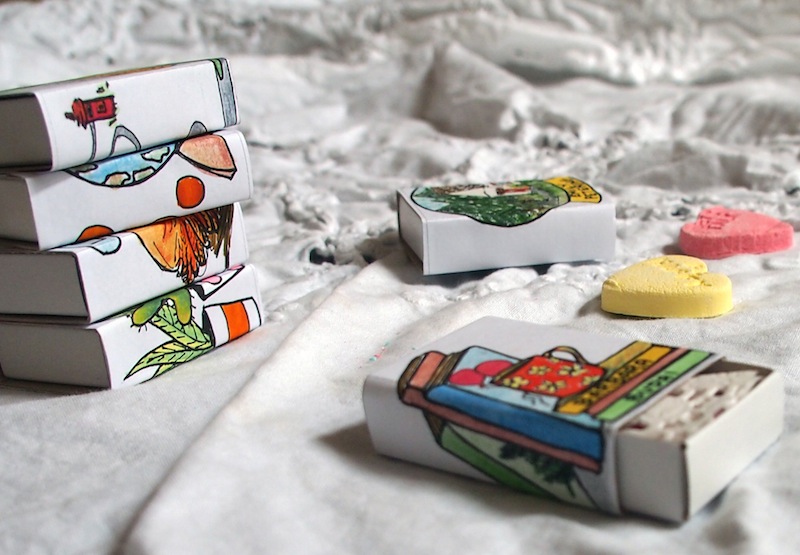
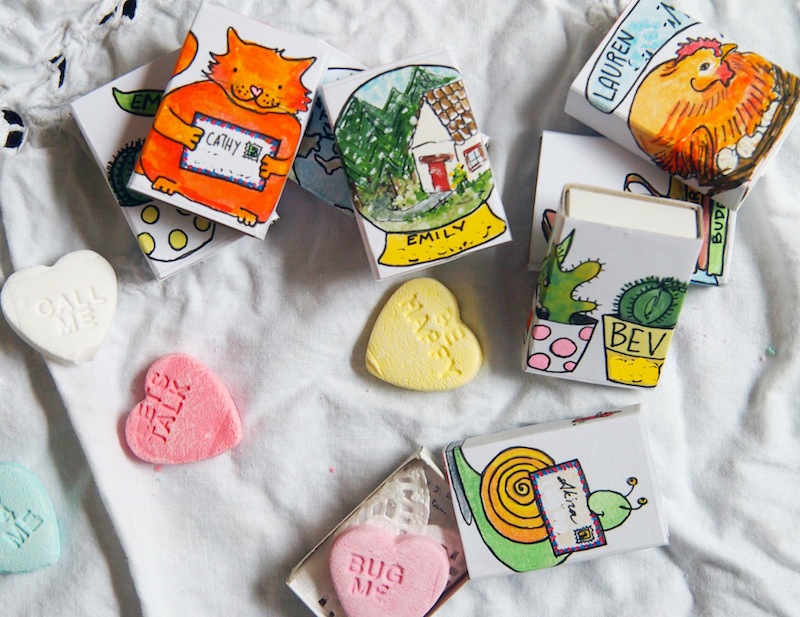
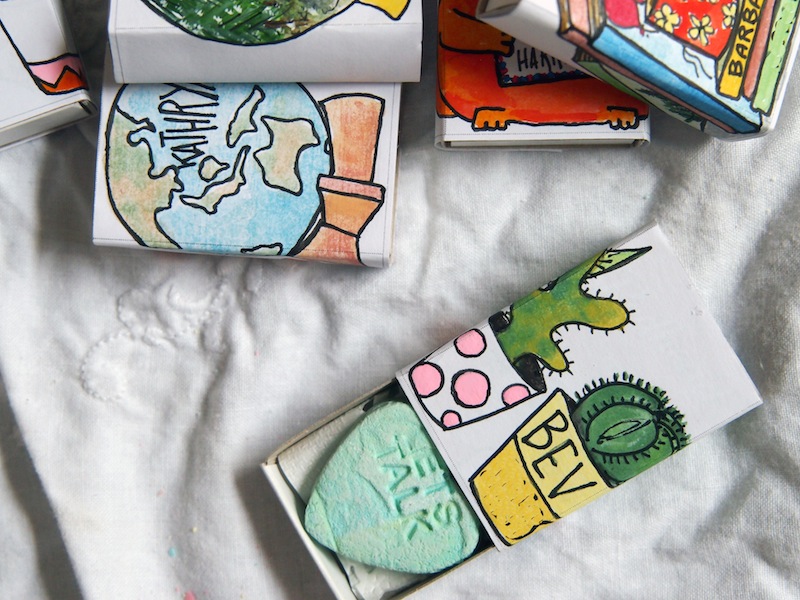
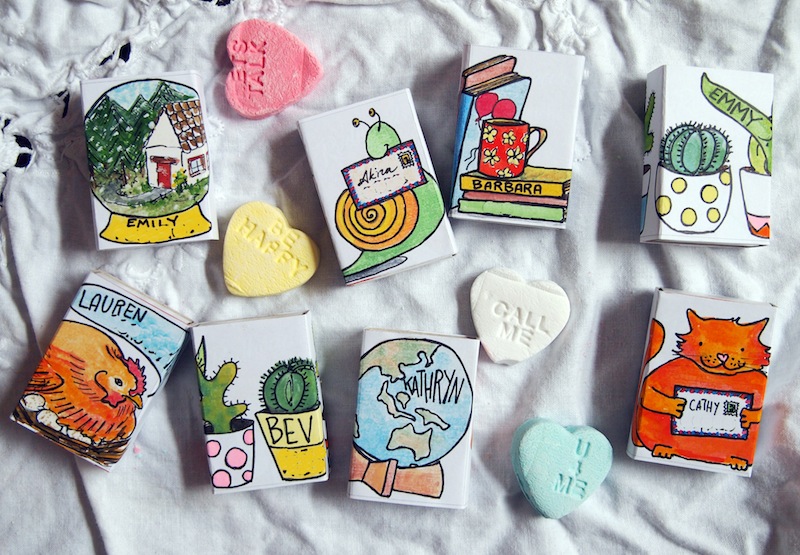
In the meantime, I have been having some fun lately jumping on the "decorate old matchboxes" bandwagon, creating decorated little boxes for homemade "conversation heart" lollies (from a lolly shop in Maldon, more on that soon to come), to send to folks all over the world. If you'd like to replicate this idea for Valentine's Day, it's super easy. Just wrap some paper around a matchbox to get the size right, trace the outline, then unwind it and draw/paint/paste whatever image you like before pasting it properly back onto your matchbox. I lined my boxes with paper doilies but you could also use tissue paper, cloth, foil or anything else that inspires you.
On another matter, conversation hearts! How great are they? So much vintage fun.
Creative project: Grandad stories
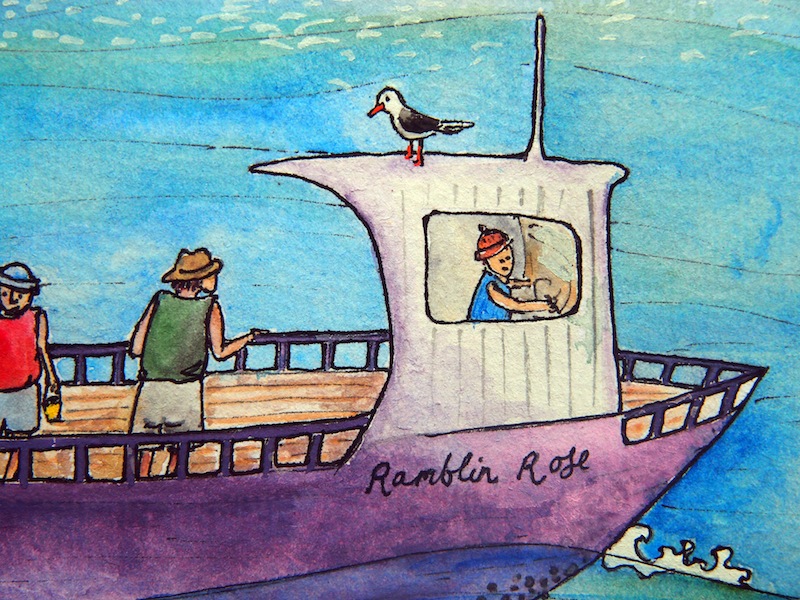
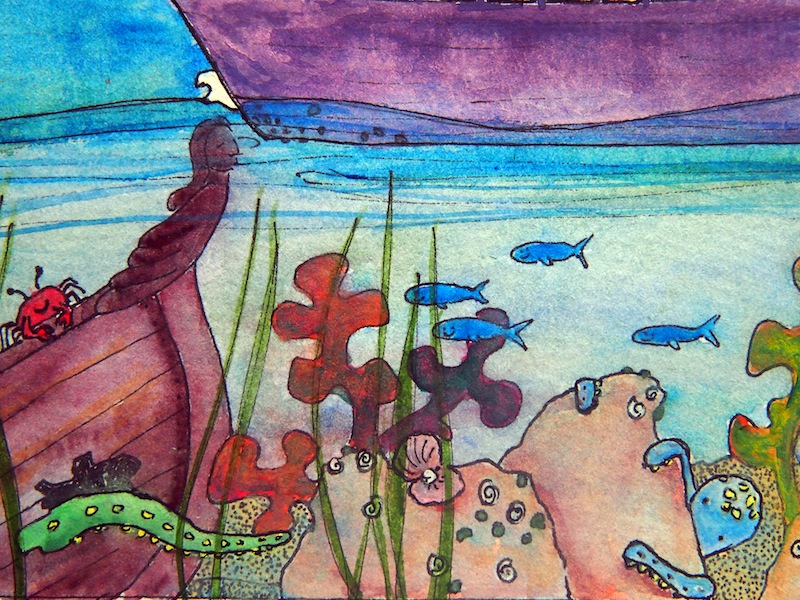
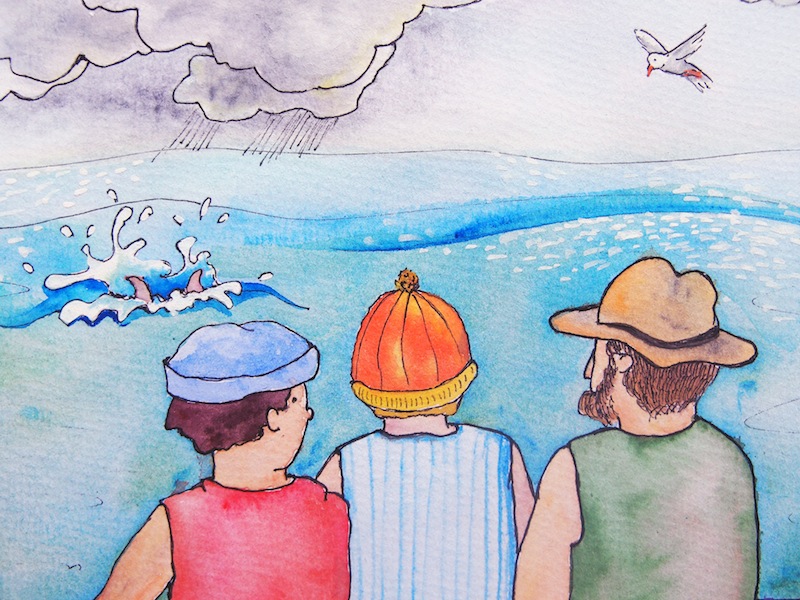
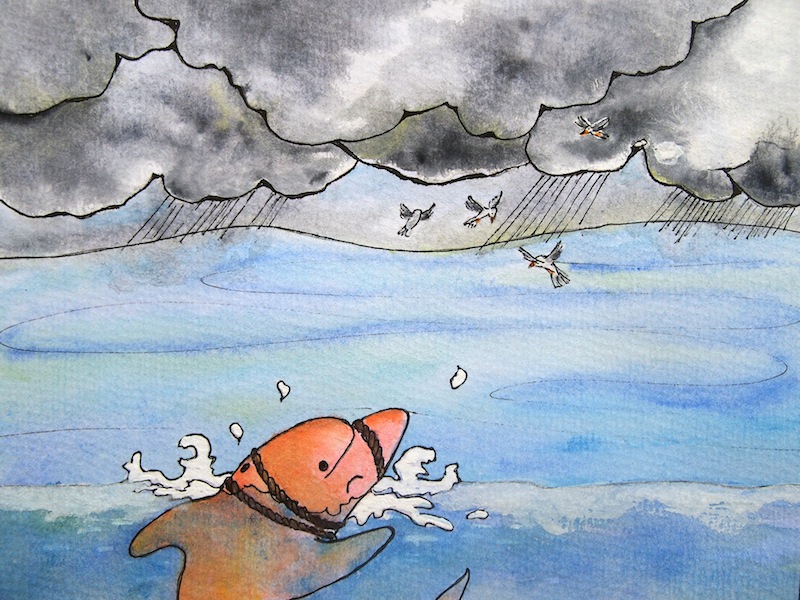
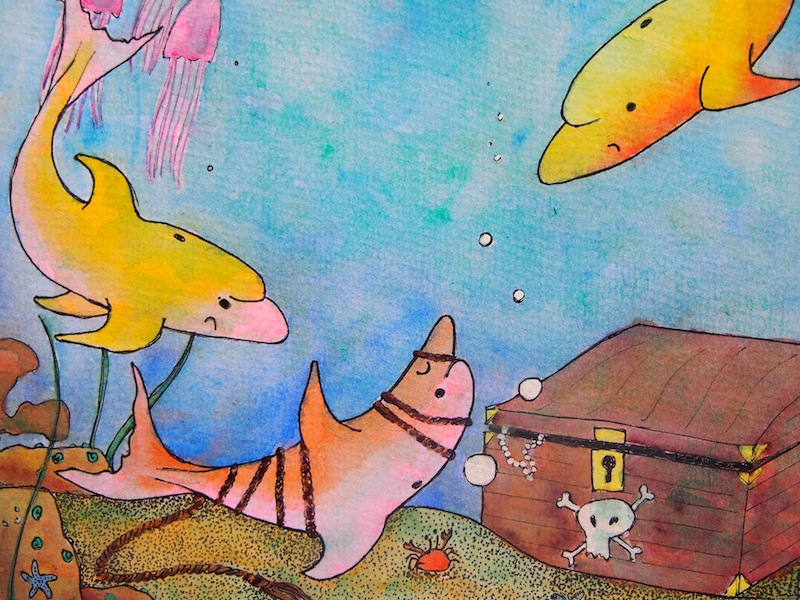
I have some exciting news to share. I have been invited to illustrate a children's book! I'm collaborating with the incredibly talented Wendy Milner, a professional writer who has just completed her first piece of children's fiction.
It is a beautiful (and true!) story called "Grandad and the Baby Dolphin." The Grandad of the story, Wendy's father, was a cray-fisherman off the Western Australian coast. While out at sea one day, he came across a baby dolphin in trouble. The dolphin was tangled in ropes and was slowly sinking beneath the salt waves. Grandad and his fellow fishermen were determined to rescue the baby dolphin, but what happened next amazed them all…
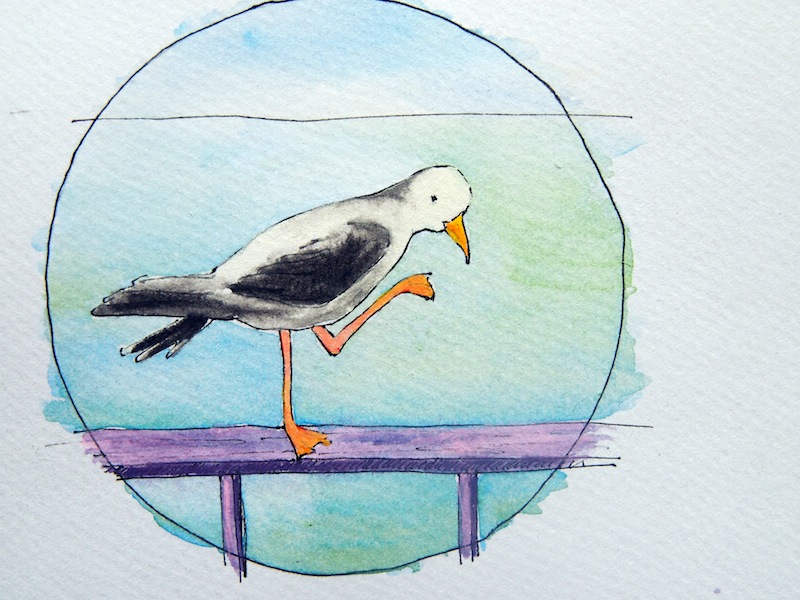
These are some sneak peeks and close-ups of my work-in-progress on the illustrations. If you'd like to know more about this lovely story (and others to come), Wendy has built a website for us, which you can find at Grandad Stories. You can also read her personal blog at Blink Blackburn.
Have you been working on anything new? I'd love to hear about it!
Make this: surprise slide-up cards
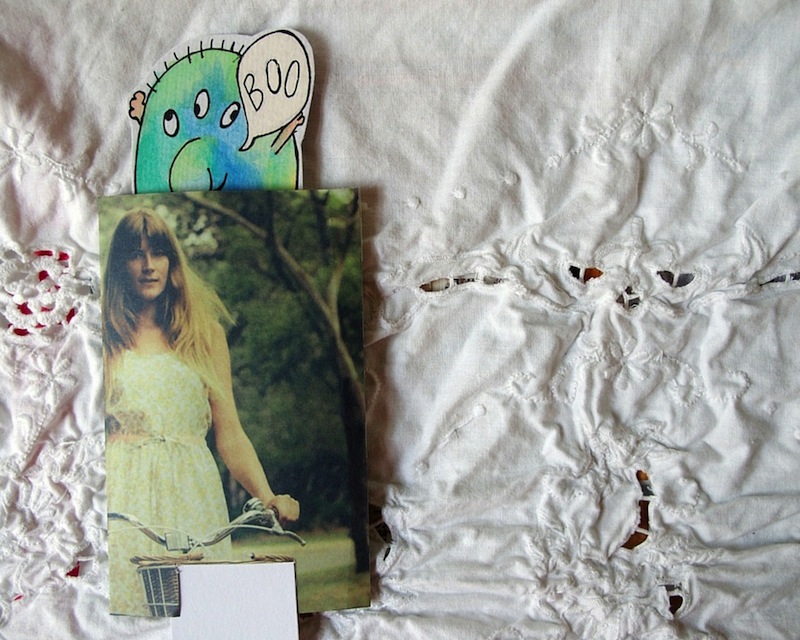
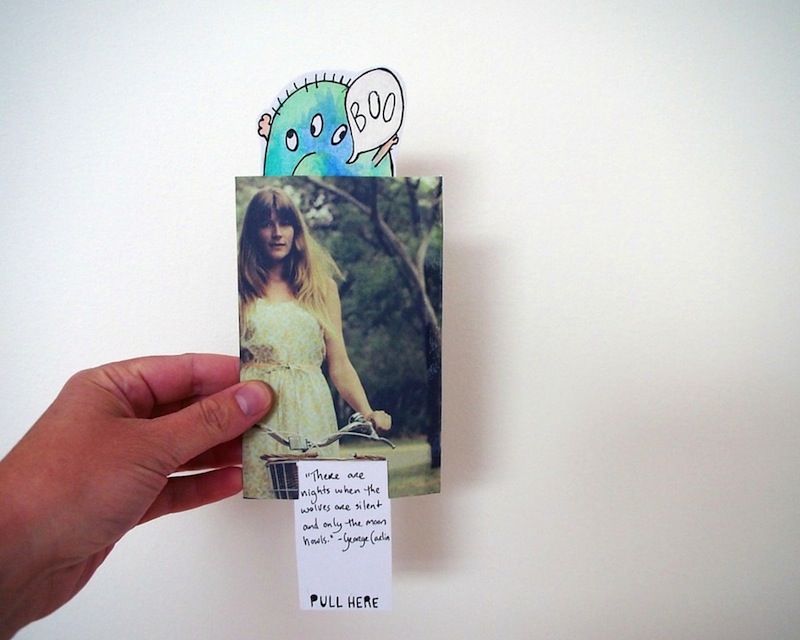 Boo! Recently I made these little slide-up cards, after watching one of those "how-to" tutorials on YouTube that make simple things so much more confusing than they should be and assume you are the proud owner of an entire cupboard full of obscure craft supplies, when you could actually make do with a piece of cardboard and some sticky-tape.
Mine were Halloween-themed but if you want to make them too, they would suit pretty much any occasion or holiday: little hearts popping up to say "I love you," fireworks popping up to say "Happy New Year," flowers or confetti or - you get the point - to say "happy birthday," and so on.
Following is my pared-back tutorial, with a few moments of "full disclosure" on things I did wrong or could have done better, so you can learn from my mistakes.
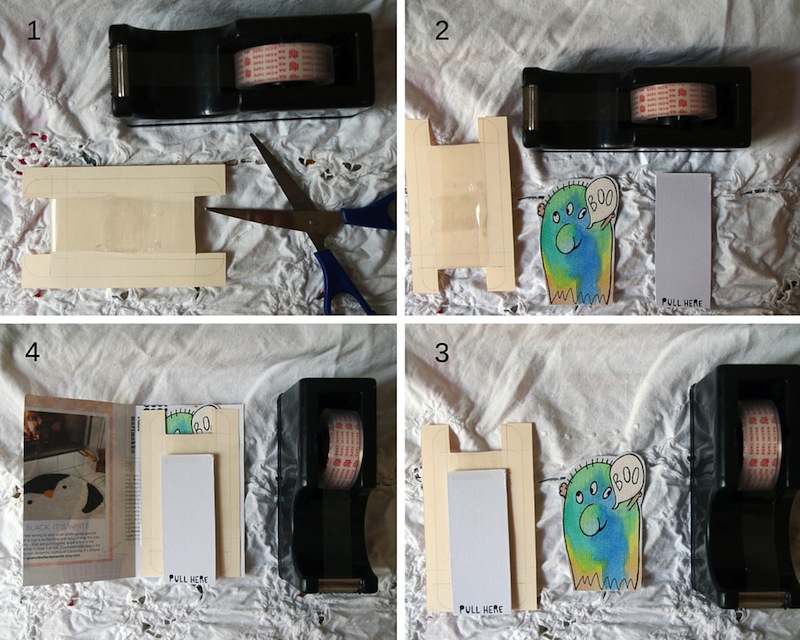
The basic mechanics of these kinds of slide-up cards involve plastic wrapped around a rectangular piece of cardboard (or more accurately, an "H" shape, to stop the plastic from sliding off). You stick a second piece of cardboard with your picture or message on one side, and a third piece of cardboard with the "pull here" instructions on the other side. When you pull down on one piece of cardboard, the plastic slides around, pushing the other piece of cardboard up. Make sense?
ΔΔ What you'll need:
* One or two sheets of thin cardboard, or some thick (eg water-colour) paper * Scissors * Sticky-tape or glue * A pencil, or something to measure your cards (you could use a ruler and/or one of those grid maps, OR you could do what I did, and trace around your mobile 'phone) * Thin plastic (full disclosure: being the non-craft-supplies-cupboard type person that I am, I didn't happen to have any thin plastic available, so I just cut up the plastic covers from some greeting cards - do you know what I mean? - and they would have worked really well except for the folds in the plastic that caused the "slide up" bit to catch)
ΔΔ While you can make these cards all out of the same cardboard, I used a few different types, just to make my cards interesting. I used the beige cardboard you see pictured because it was handy, to make the H-shaped mechanics of the card. I used water-colour paper for the slide-up monster or ghost, and for the "pull here" tab at the other end, because I thought the colours would show up better on white than beige and I didn't happen to have any white cardboard handy. I used old pages of Frankie magazine to make the "envelope" of the card, because they're pretty. You could of course use plain cardboard for the envelope, which would leave a whole lot of space to create your own design or the first part of the message.
ΔΔ Step 1 (top left): cut out a piece of cardboard in an "H" shape, then cut out two rectangles, slightly smaller. I traced around my iPhone to get the rough sizes of my two smaller rectangles (which make up the monster and the "pull here" tab), then just went a bit bigger to get the H shape. You can see the pencil-work where I traced around the iPhone then made it a big bigger. This is part of the inside of the card so don't worry about pencil marks.
Step 1b (because clearly this is actually two steps but I forgot to take a photograph of the H before I'd already stuck the plastic on)... Now cut out a strip of plastic long enough to wrap all the way around the short bit of the H, then wrap it around and stick it together. Make sure it's not too tight, because this is what will be used to slide your picture up and down so it needs to move easily. (Full disclosure: as I mentioned, the creases in the re-purposed gift-card wrapping I used meant that in some cards, the plastic would get stuck and wouldn't slide smoothly. Also, I used sticky-tape to secure the plastic because I didn't think glue would be reliable, but the tape also created some problems with the smooth sliding of the pulley. So the one thing I would do very differently next time would be to find some better - crease-free - plastic at the newsagency, and possibly some good glue)
ΔΔ Step 2 (top right): take your two smaller (in my case iPhone-sized) pieces of cardboard, and place them to the plastic on the H to see how they fit. You may need to trim them further. Now would be a good time to draw your slide-up message or illustration (in my case the monster), because it gets tricky to draw or paint after the card is made.
ΔΔ Step 3 (bottom right): place your "pull here" card on top of the H, lining it up with the bottom of the H-card. Then tape it to the plastic at the top. Turn the H over, and line up your picture (monster) card, face down, so that the top of it is flush with the top of the H-card. Tape it to the plastic at the bottom. Turn the H back over and test it at this point. Give the "pull here" tab a tug, and see if your picture slides up. Don't worry if they flop everywhere, the envelope will hold everything in place.
ΔΔ Step 4 (bottom left): cut out another piece of cardboard or paper. Measure it to be slightly bigger than the H, then double it sideways. I used pages from Frankie magazine for this. Fold the cardboard or paper in half, then stick the H to the right-hand side of the card (on the inside, of course). Make sure when you tape it that you secure the H on both sides, but don't stick down any of the moving parts.
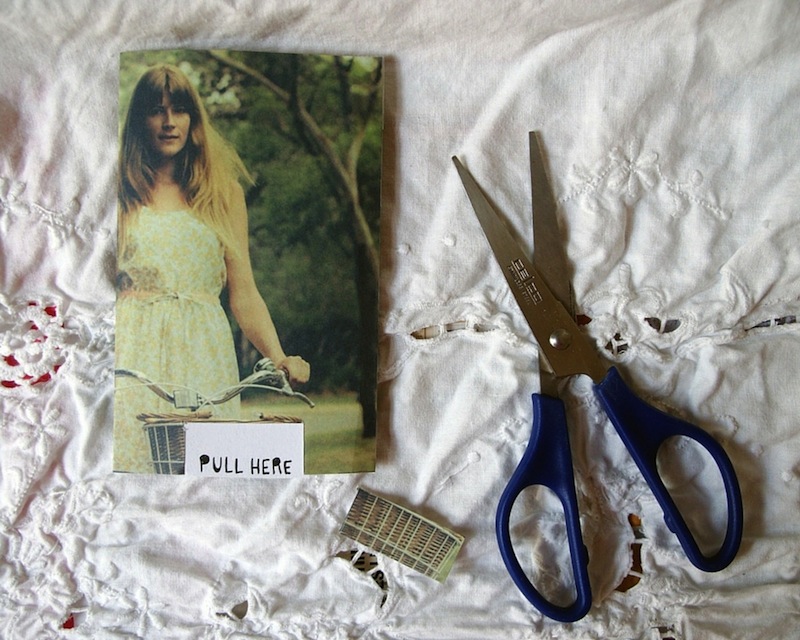
ΔΔ Step 5: Fold the card over to close it, and seal it up with sticky-tape or glue, again making sure you don't go near any moving parts. Cut out a little square or semi-circle to reveal your "pull here" tab.
ΔΔ You're done! I used the blank space above "pull here" to include a spooky little Halloween quote (see the picture at the top). You could add a secret message here, if you wanted to.
Kindness, both knowing and unknowing
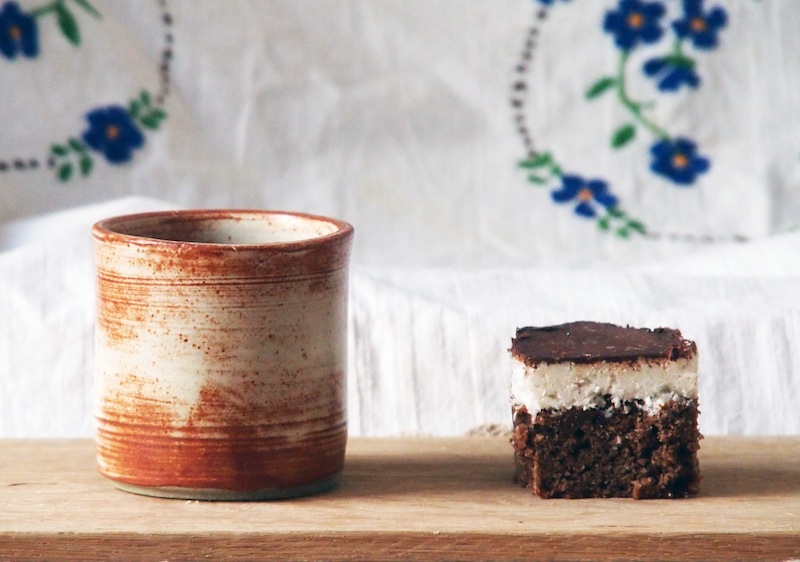 Sometimes kindness is a cup of tea, shared between friends. Sometimes kindness is the vessel that holds the tea.
Things have been a little less than peachy around here of late. A few weeks ago I was unwell - for three weeks - during which time I also suffered a rather devastating loss of a loved-one. Mr B was overseas for work so I had to deal with the combination of grief, pain and illness while caring for the children on my own, and keeping up appearances - whatever that means - for the sake of the little ones.
It wasn't easy and I'm not going to lie: more than once I locked myself in the bathroom to cry in private, then rinsed my red eyes and emerged, beaming like a mild maniac, "Who wants to play with play dough?"
I'm not the kind of person who finds it easy to open up or reach out when times are tough and so, as a result, I carried the first week of sickness and sadness entirely alone, before eventually the lump in my throat began to relax and allow me to share.
During that lonely week, completely unaware of anything that was going on, Tommy knocked on my door, bearing the gift of this lovely ceramic cup, made with his own hands.
I first met Tommy in the sandpit of Scout's childcare centre, where he used to teach the children. He transferred to a different childcare centre not long after that, but we used to bump into him all the time: at a school fete, at the local deli, in the park. And then one day Tommy reached out to me via this blog, and I sent him some mail art (it was this envelope).
Recently he switched directions in career, and is now pursuing ceramics full time. When he knocked on my door that day, handmade cup in hand, it was Tommy's way of saying "thank you" for the mail art I had sent him way back then.
He could not have known how horrible a week I was having, or just how much his gift could have cheered me in that moment. It wasn't a small gesture, either. Often I talk about how precious snail-mail is to people because it's hand-written, tangible, and permanent: I put it to you that there is not much more hand-made or tangible than ceramics.
Thank you, Tommy. I think what you created is beautiful but, more than that, every time I drink my tea from this cup I will be reminded of your kindness, both knowing and unknowing, at a time when I really needed it.
Five-minute botanical postcards
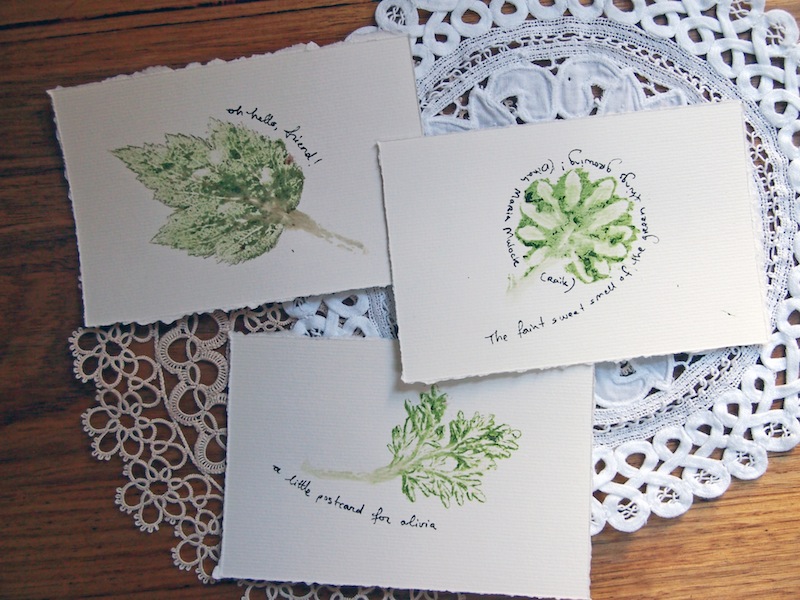
 These lovely, botanical postcards seriously take less than five minutes to make. Here's how to create your own:
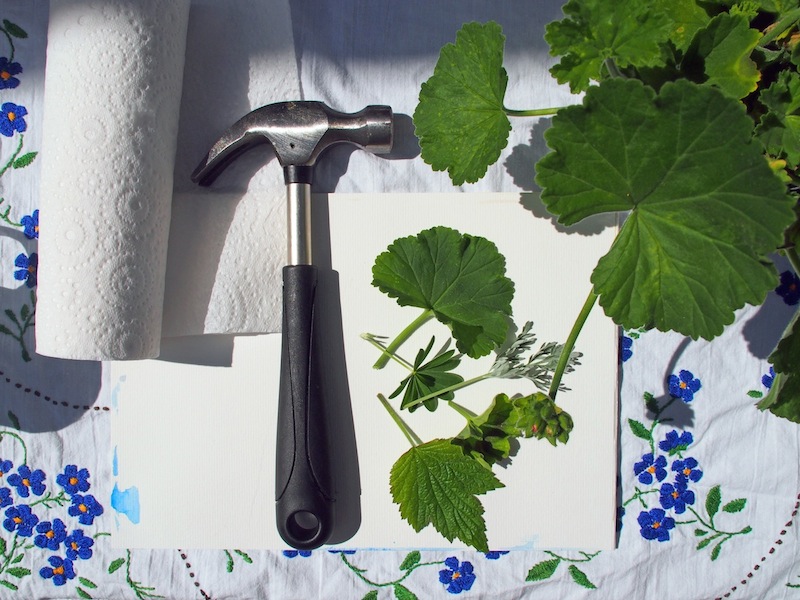
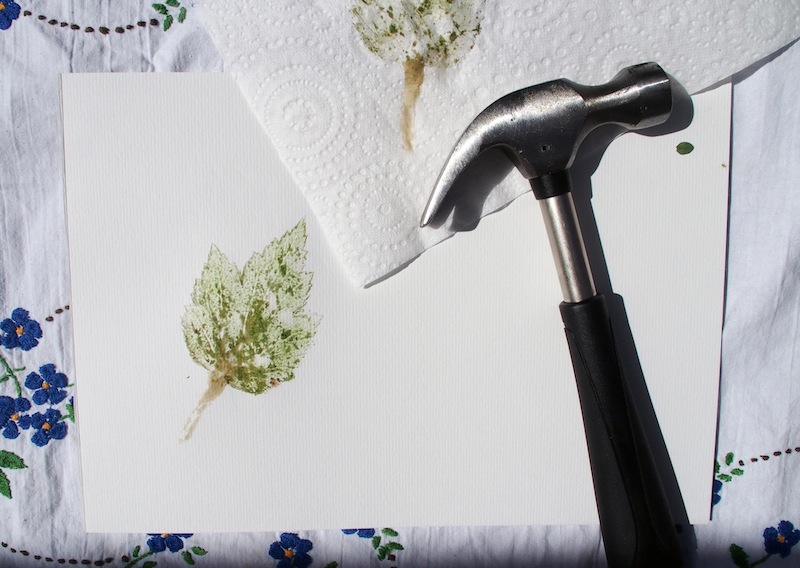
∧∧ Take a stroll around the garden and choose some leaves in shapes you like Pro-tip: For best results, choose leaves that are soft (like geranium), not hard (like eucalyptus), and beware leaves or stems that are too fleshy as you'll just create mush rather than patterns
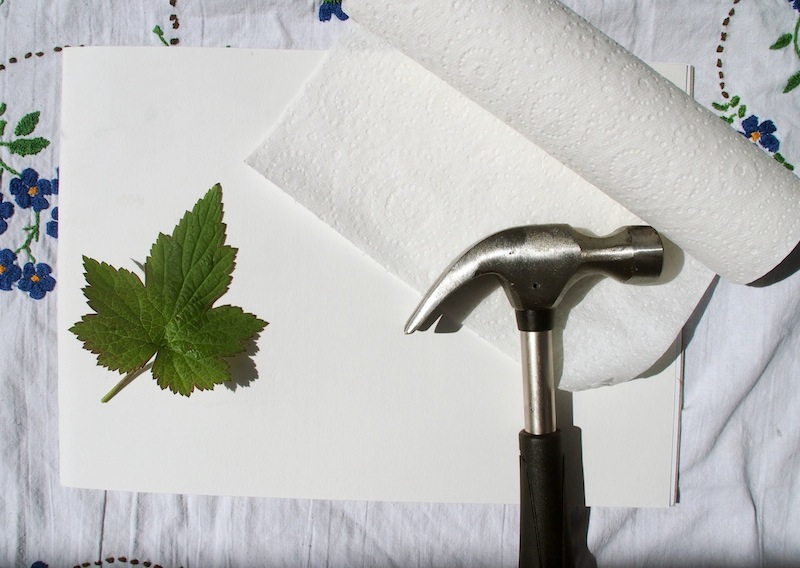
∧∧ Position a leaf on a piece of paper, then cover it with a paper towel Pro-tip: Try to have something flat-surfaced but cushioning underneath it, such as cardboard or several sheets of paper. You could also use a cutting board, that gets VERY loud
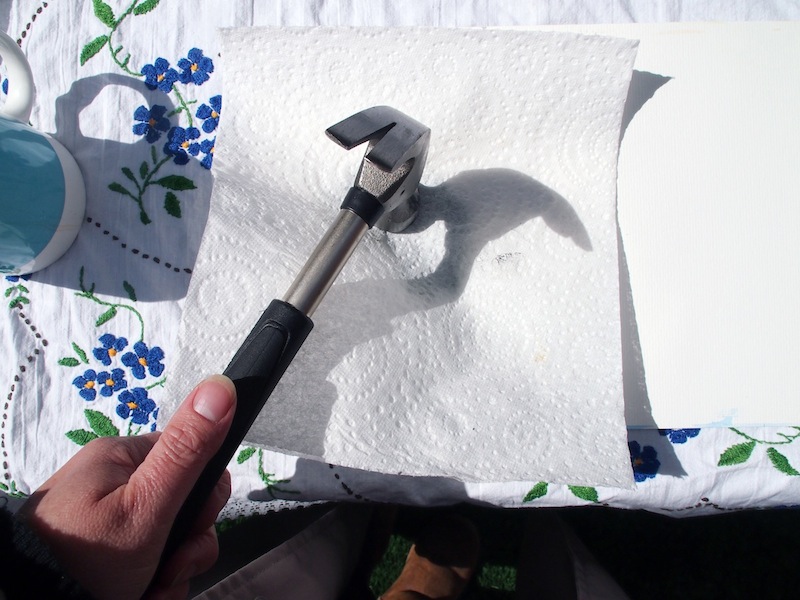
∧∧ Holding the paper towel in place, start hammering all over the leaf Pro-tip: Keep hammering until you can see the complete outline of the leaf in the paper towel, then hammer a bit more in the middle to fill it all in. Don't forget the stem
∧∧ Take off the paper towel and peel away the leaf to reveal your lovely stamp!
I made the postcards you see here using watercolour paper because it was thicker and could survive the post as a postcard. Once I'd created my botanical stamp, I just grabbed an old postcard and tore around it to get the size right. I also made some other stamps on standard copying paper, which I'll cut out and paste onto cardboard to create greeting cards.
This was a very child-friendly activity, with my three-year-old and my not-even-two-year-old both helping me, although much to their frustration I insisted on "helping" when it came to the hammering bit.
What do you think? Will you try making these?
Tactile
Is there anyone who doesn't like playing with clay? I mean, you may or may not fantasise about THAT scene in Ghost, and anyway that's none of my business, but I bet if I handed you a lump of clay right now, you'd start manipulating it. Rolling, flattening, squeezing, shaping, smoothing…
There is something so wonderfully tactile about clay that makes it almost impossible to resist. Even more-so if you harbour dreams of creating beautiful things, and even more than that if you happen to be a three-year-old well-practiced in the art of play-dough, who ALSO harbours dreams of creating beautiful things.
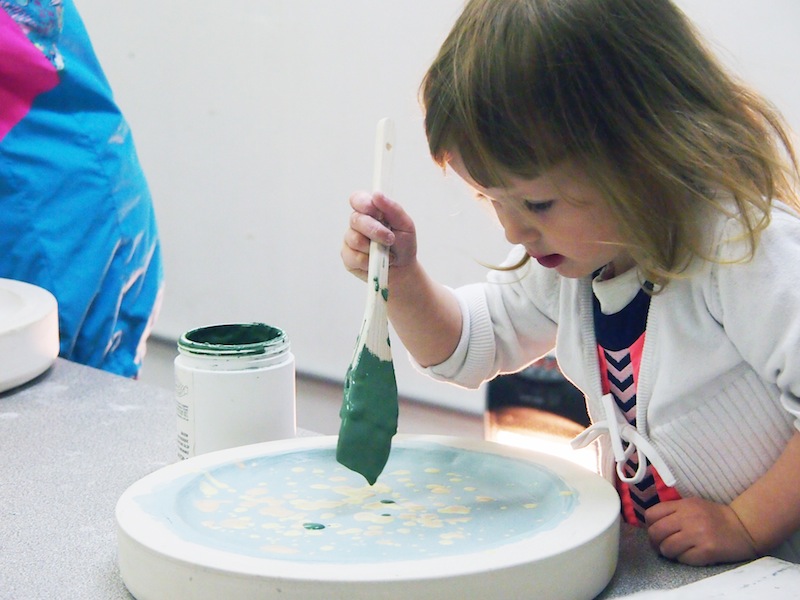
We were at the Northcote Pottery Supplies open day a couple of weeks ago, and Scout was in her element. She made a plate: she shaped it, smoothed it, trimmed it and painted it and was incredibly proud. And then she held my hand and insisted on taking a tour of the entire studio, upstairs and down, watching demonstrations and visiting every individual artist in turn.
Now, Scout wants to make something more. I want to make something too! How about you? Do you want to make something with me?
Dad turns 70: the party ideas edition
Here are some of the little party ideas we've been working on during the past several months, to create fun surprises for my Dad and his guests at his 70th birthday party.
Save-the-date cards
ΔΔ I had some simple postcards printed up. On the front was a picture of Dad when he was about two, and a cryptic note at the bottom saying "Guess who's turning 70? Save the date 22 August 2015."
The clue was on the back. There, I wrote their addresses (of course), but those who looked carefully would also have noticed that the 70c stamp was actually a picture of my Dad today. Order personalised stamps from Australia Post here.
Invitations
ΔΔ I shared some of the mail-art I painted for the invitations that you see here in an earlier post. This is what was inside the boxes I sent.
When Dad's invitees opened their mail, they found a plain, white box. Inside the box was an old View Master. As they held it to their eyes, it took them through a little seven-slide "This is your Life" for my Dad. So, for example, the first slide was a black-and-white photo of my Dad when he was only a few months old, sitting in a bucket on the verandah. I wrote "It was 1945. Baby Paul took a bath in a bucket." Then on the next slide, my pre-teen Dad learned to ride a bike. I showed him meeting my Mum, being a father, building our house, those kinds of things. The final slide gave all the details of the party.
I used Image 3D to create and order my View Masters and slides. I found them very quick and great quality, despite the somewhat dodgy looking website. We ordered one set first, just as a test, before placing the order for 55. They get significantly cheaper per unit the more you order.
Secret book
ΔΔ Via a series of elaborate lies, I spent months collecting information and resources from Dad and the people close to him so that I could create a secret book for him about his life.
I collected old photos, mementos and newspaper clippings; recollections from Dad about his life and the lessons he had learned during the past 70 years; stories from Mum about their courtship and how Dad proposed (I can't believe I had never heard this story before!); and stories and memories from Dad's sister, my brother, and some of Dad's closest relatives and friends, so the book would be a warm and surprising read, both for Dad and for future generations.
The book is roughly chronological in order, starting with Dad's childhood upbringing, then meeting and marrying Mum, work, being a parent, building his own house, travelling, and becoming a grandfather.
I created this book using Artifact Uprising, since I'd used them before and loved the service and quality. This book was a 100-page hardcover book with linen cover and a dust-jacket, and I also ordered a box made out of reclaimed wood to store the book, with a photo of Dad printed on the top.
Stories and anecdotes
ΔΔ Along with the secret book, I made a second book using Artifact Uprising that was the same size as the other, but in soft cover. I chose a cute photo of my Dad as a toddler to put on the front (how amazing is that technicolour yellow knitted jumpsuit! and those curls!), and then on the first page wrote some words inviting people to jot down their thoughts and memories of my Dad on the blank pages that followed.
We passed this around during the party so that people could fill the pages with messages for Dad. They shared some fantastic stories and moving tributes.
Famous RSVPs
ΔΔ Back in January we wrote letters to a series of international dignitaries, inviting them to come to my Dad's party. Somewhat surprisingly, none of them could make it ;-)! I collected all the RSVP notes and put them in a folder to give to my Dad and display at the party.
So when people came to take a look at the folder on the table, they saw a letter from the Queen of England wishing my Dad a very happy birthday, a letter from the President of France expressing his deep regret that he couldn't join us for lunch in Katoomba, the International Olympic Committee President wishing his schedule could have allowed him to make it, and many more. The Mayor of the town in Brittany where my father's family lived for many generations wished him well, and sent me colour photocopies of a page in a Baptism Register from the 1780s, showing the birth of my father's ancestor Jean Louis.
Hand-lettered name-cards
ΔΔ Never underestimate how long it will take to measure, cut, fold, pencil, erase and fill-in 75 place-cards, and don't leave this task until after dinner on the night before the party. That's just a tip from me to you.
The Most Beautiful Letter You Have Ever Written
Come join me and a host of gentle, creative, like-minded people in my five-week letter-writing and mail-art course, delivered entirely online. This course is all about creativity, personal connections, and spreading joy to others through the old-fashioned postal service. Learn more or join in here.
Do you want to know how letterpress works?
Every time we learn something new, we gain more than skills and knowledge. Often we gain confidence, or a sense of purpose, or a sense of achievement, or creative inspiration to do more, try more, experience more, learn more. Learning brings SO MUCH GOOD, even learning things we don’t necessarily want to learn, or think we need.
Like that time my friend Cara was having a birthday and she had always wanted to learn the trapeze so I bought her trapeze lessons… and then she insisted that I be her buddy (because the lessons were for two). And I didn’t want to do it because learning the trapeze was her dream, not mine, and, if we were going to get down to the nitty-gritty, I was afraid. But I loved Cara and Cara wanted the buddy to be me, so off we went on the train, giggling nervously.
And the next minute I was climbing that ladder and it didn’t look so high from the ground but as I was climbing it just kept going up, up, up and by the time I got to the top and was leaning out over the platform waiting to catch a flimsy metal bar as it swung towards me over the abyss (go with me here, I’m talking about FEELINGS), I started shaking uncontrollably. I mean my leg was visibly quivering, like an Elvis dance in fast-forward. And the acrobat behind me was yelling “GO NOW” but I couldn’t make that shaky leg shift, and timing was everything when it came to catching a trapeze, so the next time the swing came back towards me I felt a massive shove behind my knee* and launched forward, catching that bar with my chalky, sweaty hands just as my toes touched air.
It felt like an impossible task but two turns later I was back up that ladder, launching out to catch the bar, swinging myself upside-down to hang by the knees, arching backwards, reaching out, and flying - momentarily - through the air, before catching hold of the strong hands and wrists of somebody else, also upside-down, in a perfect combination of timing and trust.
On the way back home on the train, Cara and I felt invincible. We were gods! We could do anything! And I thought, what am I doing here? I have been talking about moving to New York for SIX YEARS. Why do I keep talking about it? What’s the point of talking? And so that very week I gave notice at my job, bought a plane ticket, and started packing. Sure, I was making an international move with no money, no visa, no job and nowhere to live… but I could FLY. What’s a move to another country, when you put it all into perspective?
So far nothing QUITE so life-changing has followed my lesson in letterpress, but as I drove home through the rain I was reminded of the trapeze lesson all those years ago, because as I drove it was with that same elation of having learned something new, having set myself a task and achieved it, and of having new creative opportunities opened up to me. And just like the trapeze, I never would have done this without a bit of a shove.
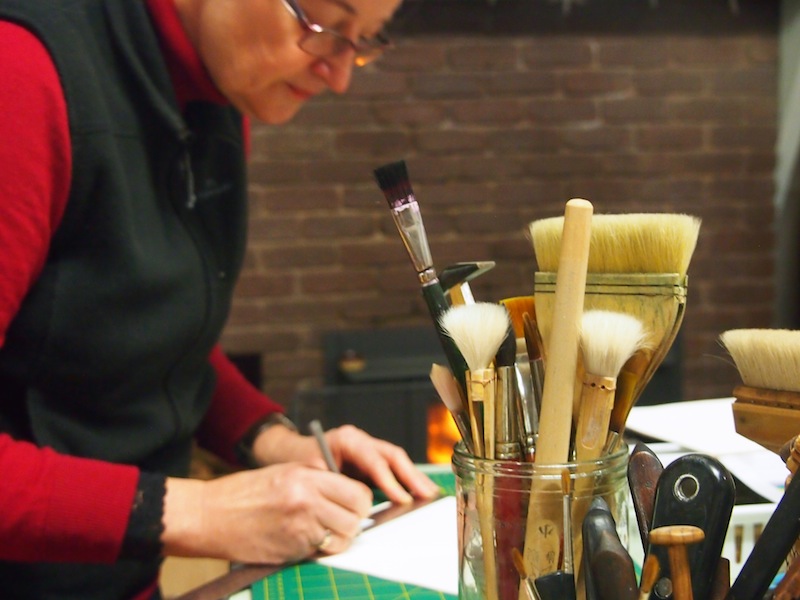
In the lead-up to Mother’s Day we did that old dance, the one where Mr B says “What would you like?” and I say “I don’t need anything, just let’s go out to lunch and spend time together as a family,” and I mean it because OF COURSE there are lots of things I would like: I’d like a pony, for instance, also a million dollars, but, well, you get my drift. And then his face lit up and he said “I know!” and he pulled out his iPad and before I knew what was going on, Mr B had sent off an email to Dianne Longley, who he had met at the Lost Trades Fair, asking her about giving me a private lesson in how letterpress works, and helping me understand what methods I might want to pursue. It was done before I knew what it was, and a few weeks later I found myself driving alone through rain and fog to Dianne’s wonderful, warm studio up in the Central Highlands of Victoria, ready to spend a day of learning.
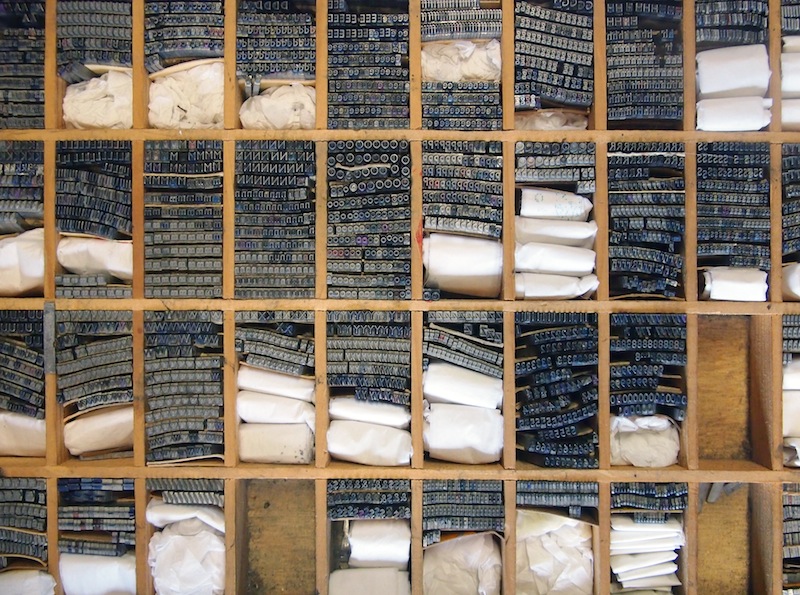
I’ve often wondered, not in a keep-you-up-at-night way but definitely in a passing “wait a minute” way, how all those letterpress cards you see with beautiful, whimsical drawings work. I mean, my understanding of letterpress was that it was a mini printing press, right? So you place all those little metal letters into reverse order, ink up a plate, and press them through the ink onto the paper. So… how do they get the drawings?
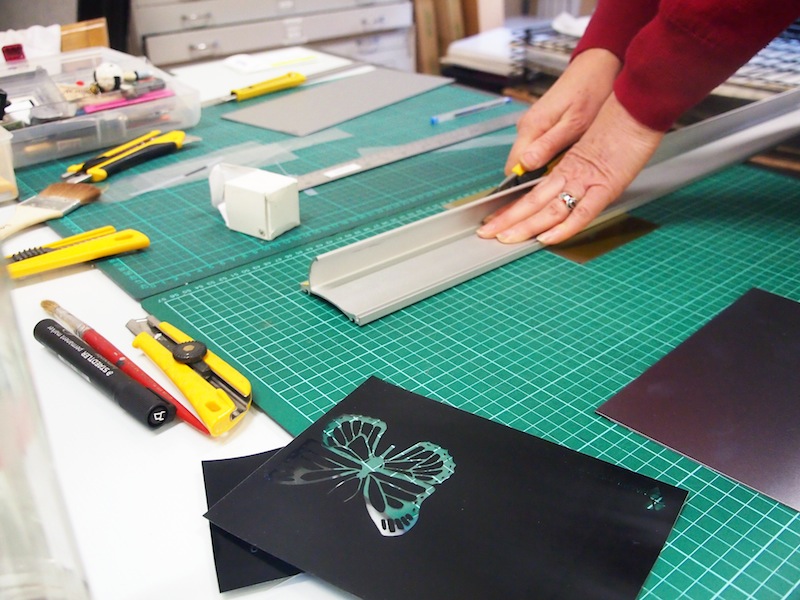
The night before my lesson, I sketched up a picture of a butterfly that I wanted to use on the cover of my little zine on practising kindness (the butterfly effect, you know?), and brought it with me, just in case. With Dianne’s help, I created several covers of the zine, which I’ll start sending out to people soon. (Once it was printed I realised I’d made the butterfly too big, and too close to the edge of the page. If you get one of these, you’ll be holding onto my FIRST EVER letterpress attempts, so please forgive me my mistakes in the learning process).
In case you’re wondering too, here’s what you have to do to turn a picture of a butterfly into the cover of a zine, using letterpress (the basic version):
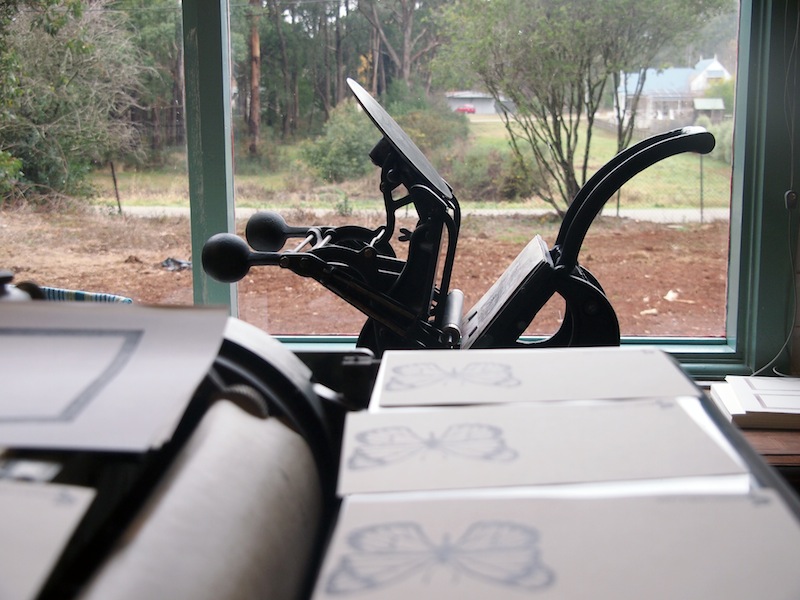
1. Scan the drawing in very high res, then open it up in an editing program 2. Reverse the image so it looks like a negative 3. Print the negative image onto clear plastic (like one of those overhead-projector sheets) 4. Cut out a piece of photopolymer plate slightly smaller than your drawing, place the drawing on top of the plate, then expose it to UV rays. You can do this outside on a sunny day, or use a UV light box. The light will burn away the negative parts of the image, creating a relief in the shape of your original drawing 5. Gently wash away the residue from your plate, in a basin of lukewarm water 6. At this next stage, Dianne put the plate in some other kind of machine for a few minutes to harden it. I can’t remember what that was 7. Depending on how many prints you want to make, you’ll choose your letterpress machine. I had unwittingly drawn my butterfly a few millimetres too big to use the antique tabletop platen press one would usually use for a job like this. So instead, we mixed up some ink with fixer, and used a bayer (roller) to evenly cover the plate with ink. Then I carefully positioned my paper over the plate, and pressed it all between some sheets of thick cardboard in an antique, cast-iron book-press. Doing this one at a time was pretty slow, but I was only making a few covers so that was OK
The end. You can see my butterfly print in the photographs above.
I was so inspired by this lesson (learning does that, I told you!), and I am saving up for another lesson. The next time, I’ll hone my drawing for the cover, AND I want to print it onto thicker paper-stock to get that embossed feeling that I love about letterpress (incidentally, Dianne told me the embossing/de-bossing is a modern phenomenon: way back when, that was considered a mistake, which makes sense when you consider letterpresses were used to print entire books), and Dianne tells me we might be able to letterpress my entire zine!
What about you? Have you learned anything new lately?
* The next day later, wondering why I felt so stiff and sore behind my knees, I looked and found big bruises where they had actually kicked me to make sure I leapt off that platform in time!
19 cheap or free ways to practice kindness, randomly and intentionally
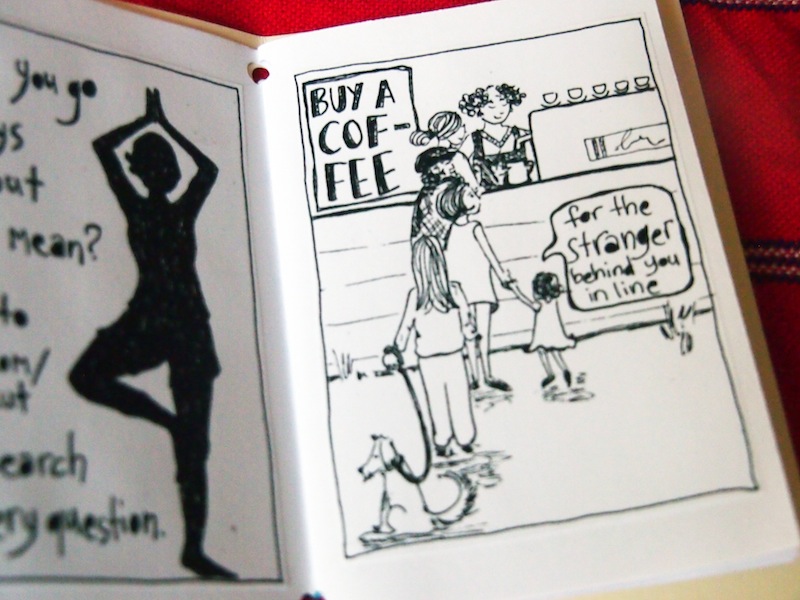
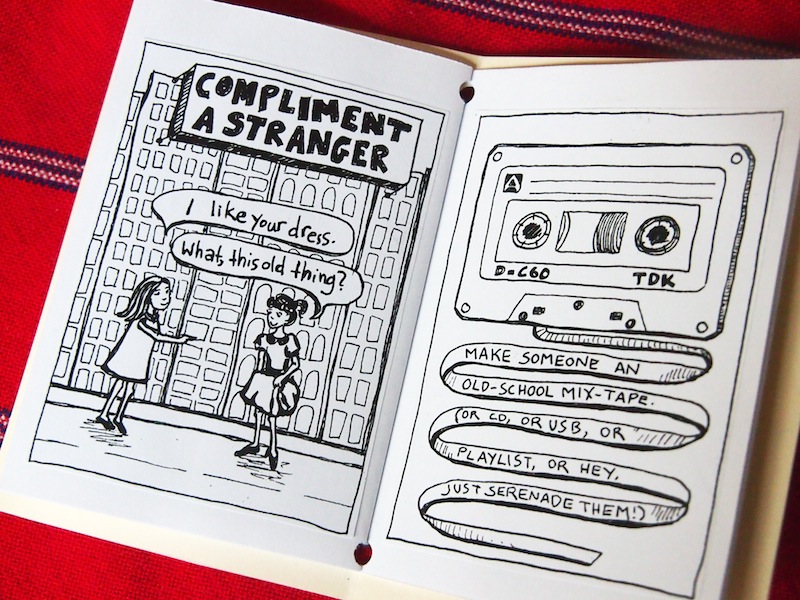
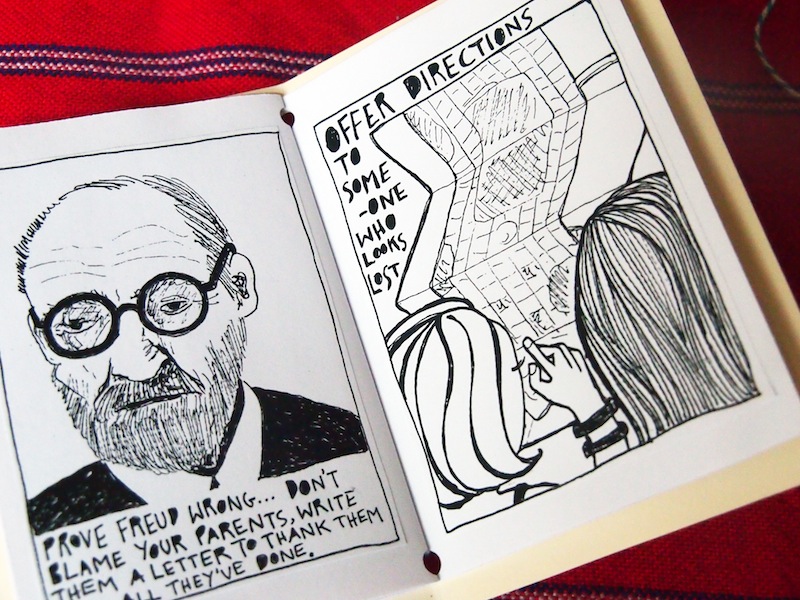
 I've made a new thing. Do you remember the zine I made recently on snail-mail? I've been drawing and pasting again but this time, the zine is about kindness. Specifically about random acts of kindness, but also intentional acts of kindness.
I agree it's important to cultivate an attitude to life that leaves us open to performing random acts of kindness. To being open to opportunities when they present themselves, to do something good or nice or kind for others. But I also think it's equally important to be intentional about kindness. To deliberately plan - strategise even - to make the world a happier place, and spread kindness.
So this little zine is just a fun little book of ideas and inspiration for me, and maybe you would enjoy it too?
I'm going to make 10 copies to send to blog-readers. They are all hand measured and cut and pasted together, which makes them satisfyingly substantial to hold and read, but means that every copy takes me several hours to make. One of these days I'll get to a print shop that can correctly align front and back photocopying for me, and then I'll be able to make many more copies of both zines, and send them to you if you'd like them.
Naomi xo
How to be a good journalist
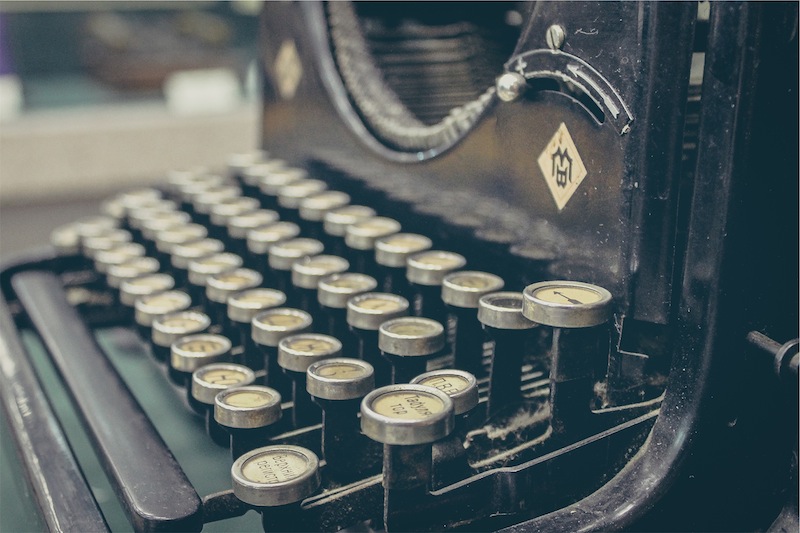 There is a lot of talk around the Internet (and coffee shops and gyms and office kitchens) at the moment about the failure of the media to query anything, even the most basic of details, about wellness entrepreneur Belle Gibson's claims of surviving countless "terminal" illnesses through diet. As Belle's business and reputation and apparent lies tumble around her, publicly and completely, we are all left wondering, and picking her story apart. WHAT WENT WRONG, everyone wants to know.
And, why didn't anybody ask the right questions?
I'm not going to weigh in on this, other than to say that the whole situation leaves me feeling a bit sick and dirty. Tainted, somehow. And deeply, deeply saddened for everyone involved and everyone whose good nature was callously used. Even for Belle herself, and definitely for her baby boy. I try to put myself in her shoes and I can't but, clearly, something is deeply, deeply wrong.
ANYWAY.
When I started out as a journalist in the 1990s, my first job was in rural commodities. I was a radio reporter, broadcasting daily news stories on scintillating topics like wool futures and cattle markets and whether cotton prices were bullish or bearish (those are real things).
This was a challenge because I felt I could barely count, let alone provide reliable economic analysis and commentary to people who relied upon it for their livings. I think said as much to my Editor, who had taken a massive punt on me in the first place and hired me over more than 100 other applicants.
And that's when he gave me the best advice I have ever received in my entire journalistic career.
Are you ready?
"You don't have to be the expert. You just have to find the expert, and ask the right questions."
It's that simple. To be a good journalist, you only need to do two things.
1) Find an expert. An ACTUAL expert, not a fraud, so do your due diligence. 2) Ask your expert the right questions. Think: what do people need to know? What do people WANT to know? And if you're thinking, "Why does that work," or "How does that work," or simply "I don't get it," then ask those questions, because maybe (probably) your readers will be thinking the same things.
Don't worry about appearing silly, because it's ok. You're not the expert. You're not supposed to be the expert. They are! So just go ahead and ask the right person the good questions and ask them the dumb questions and then put all the answers together into a story that is honest and informative and possibly entertaining and… did I mention honest?
That's it. Now you know how to be a good journalist.
Image credit: Sergey Zolkin, licensed under Creative Commons


