JOURNAL
documenting
&
discovering joyful things
Mail-art: late harvest
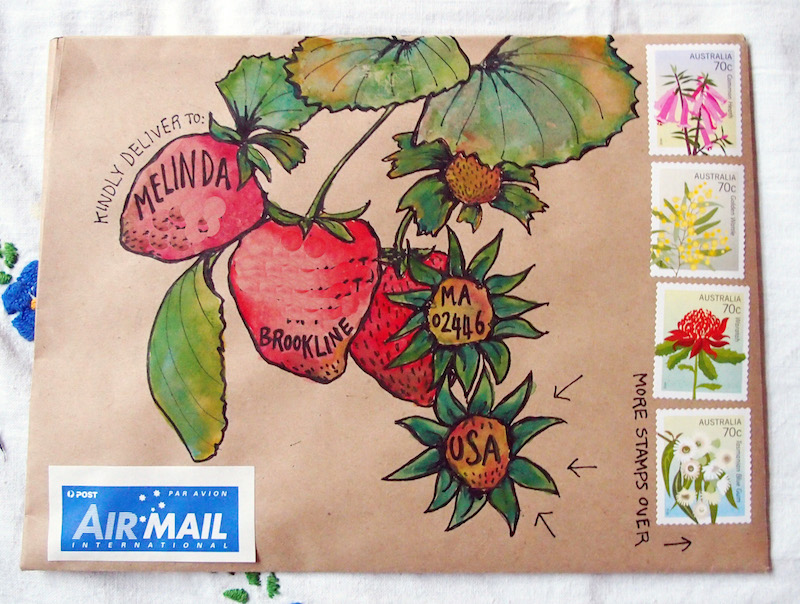
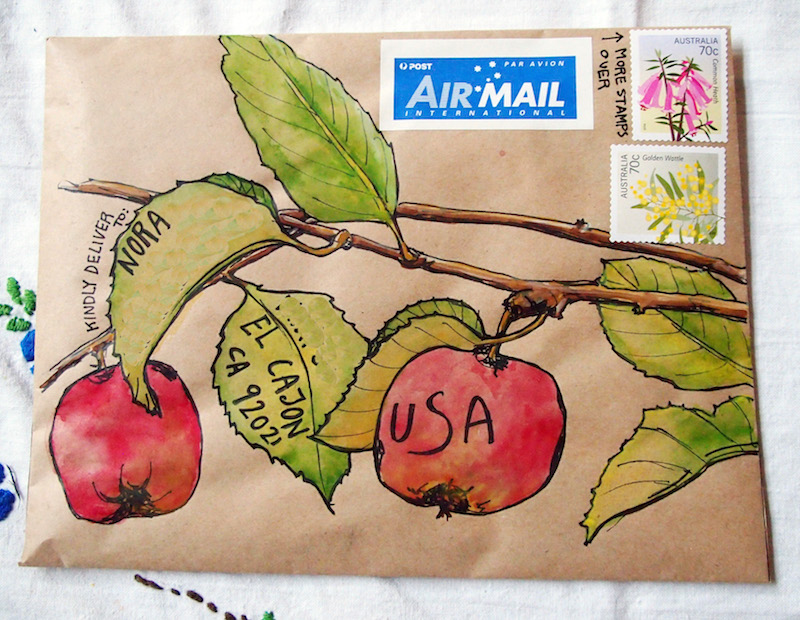
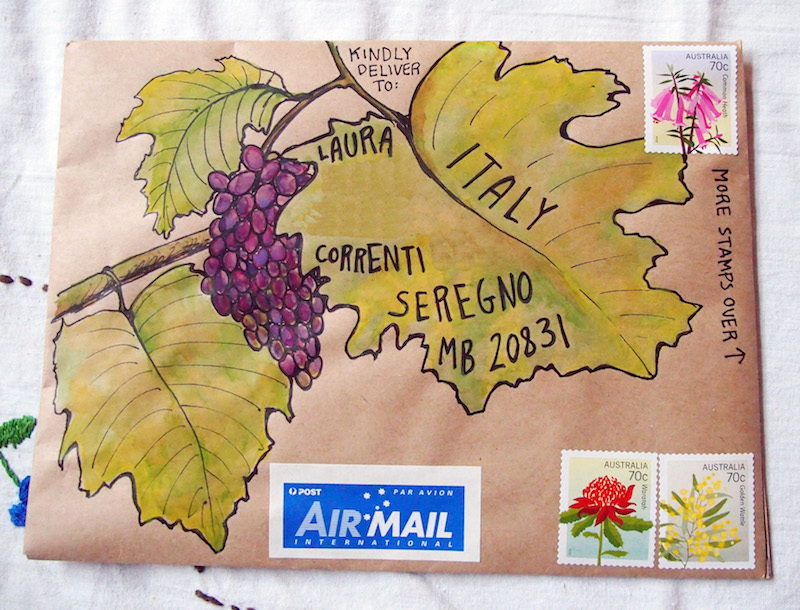
Do you know that feeling when you think something is getting on top of you, but you don't have the courage to look too closely into it, because it might be even worse than you thought? Yep, that feeling. And then you do look...
Well, I took a deep breath and then took a close look on the weekend, and discovered that I owe more than 65 mail-art letters right now. Ugh. I'm so sorry everyone! I hand-make each piece of mail, including what goes into it, and each letter can take me many, many hours. But I hadn't realised I'd fallen so far behind.
For this reason, I have decided to temporarily disable the form that lets people request this kind of mail, until I've caught up on the letters I already owe.
If you subscribe to this blog and have requested handmade, painted mail from me, I promise you are not forgotten. I appreciate you being so patient with me! And if you're reading this blog and would LIKE mail but haven't requested it yet, I promise to put the form back up just as soon as I've caught up, and I'll let you know in a future blog post.
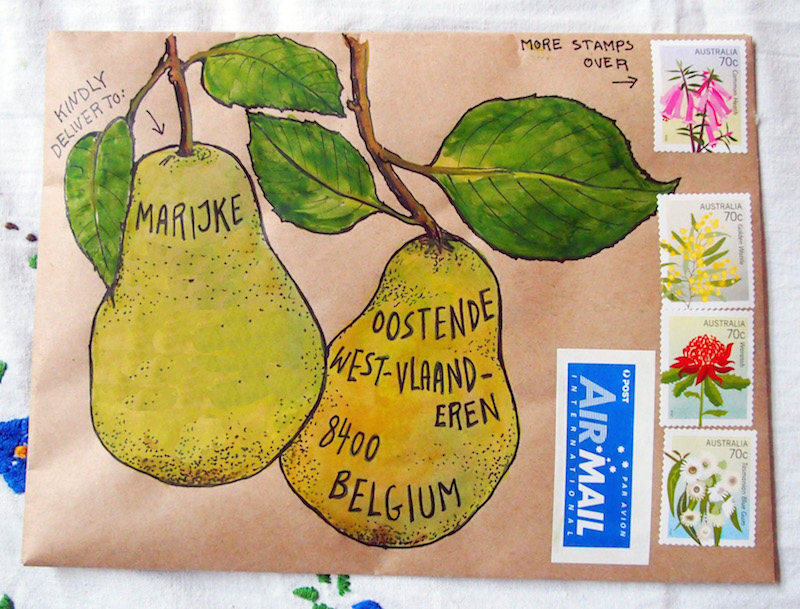
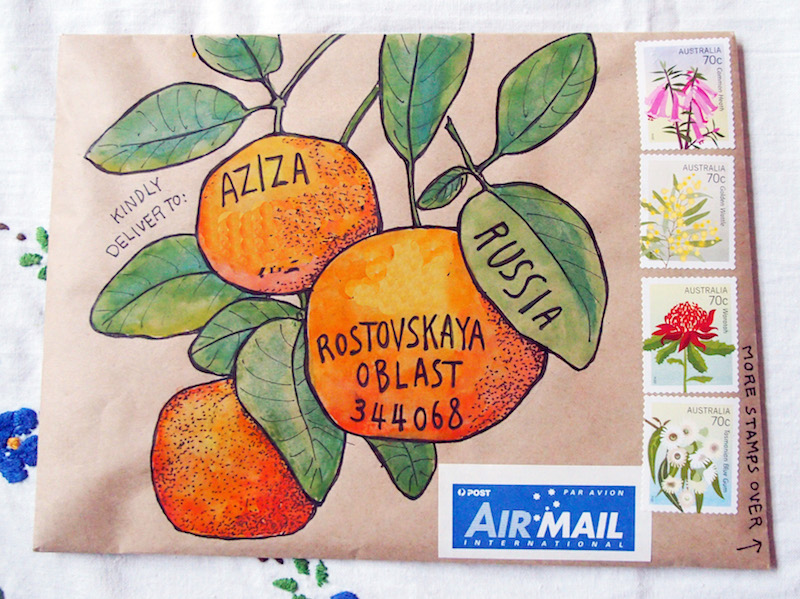
In the meantime, I thought it was time to share the fruits of my labour (see what I did there?) last week, being these five letters. The friends who requested them did so all the way back in March, which shows you just how behind I am in sending out my mail. I hope they still live in those places (!) and that they like their harvest-themed happy-mail, despite the delay.
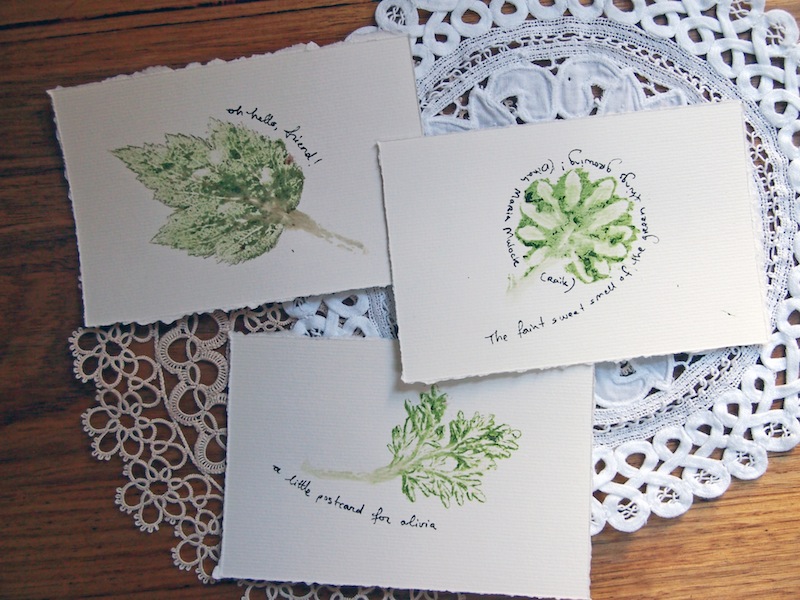
Five-minute botanical postcards
 These lovely, botanical postcards seriously take less than five minutes to make. Here's how to create your own:
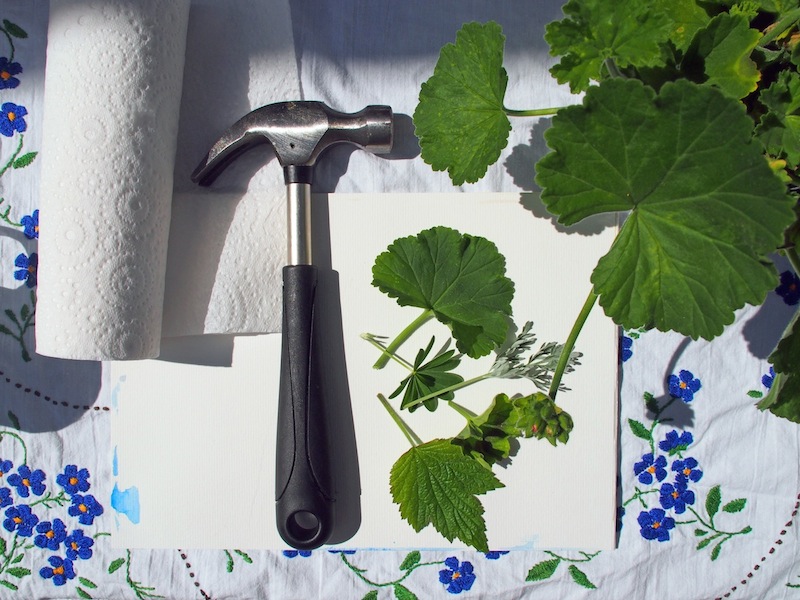
∧∧ Take a stroll around the garden and choose some leaves in shapes you like Pro-tip: For best results, choose leaves that are soft (like geranium), not hard (like eucalyptus), and beware leaves or stems that are too fleshy as you'll just create mush rather than patterns
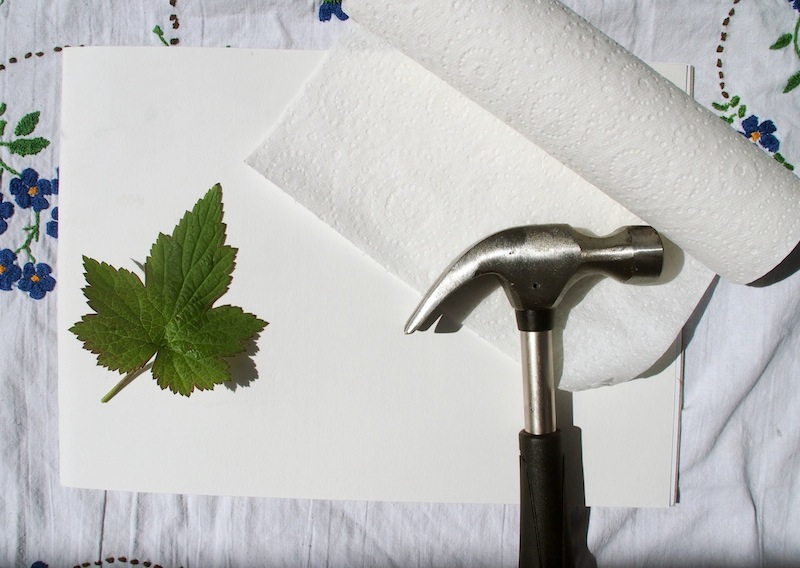
∧∧ Position a leaf on a piece of paper, then cover it with a paper towel Pro-tip: Try to have something flat-surfaced but cushioning underneath it, such as cardboard or several sheets of paper. You could also use a cutting board, that gets VERY loud
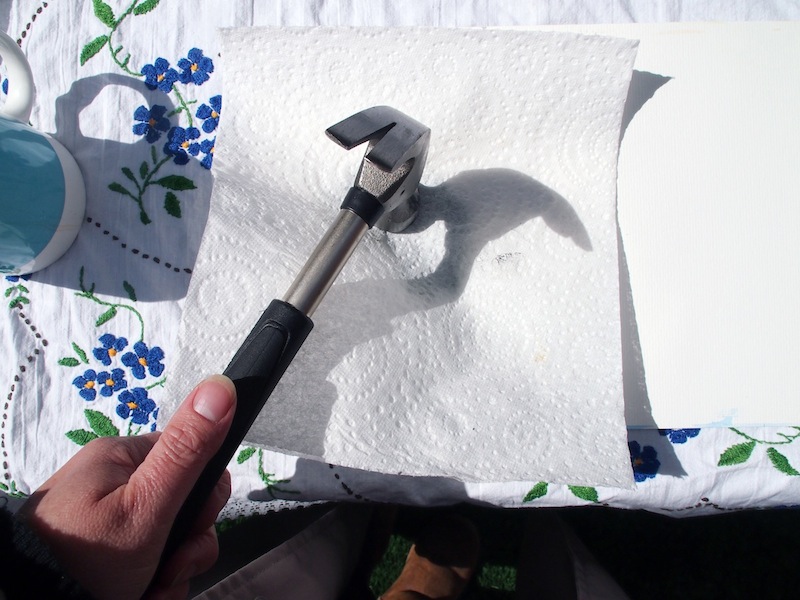
∧∧ Holding the paper towel in place, start hammering all over the leaf Pro-tip: Keep hammering until you can see the complete outline of the leaf in the paper towel, then hammer a bit more in the middle to fill it all in. Don't forget the stem
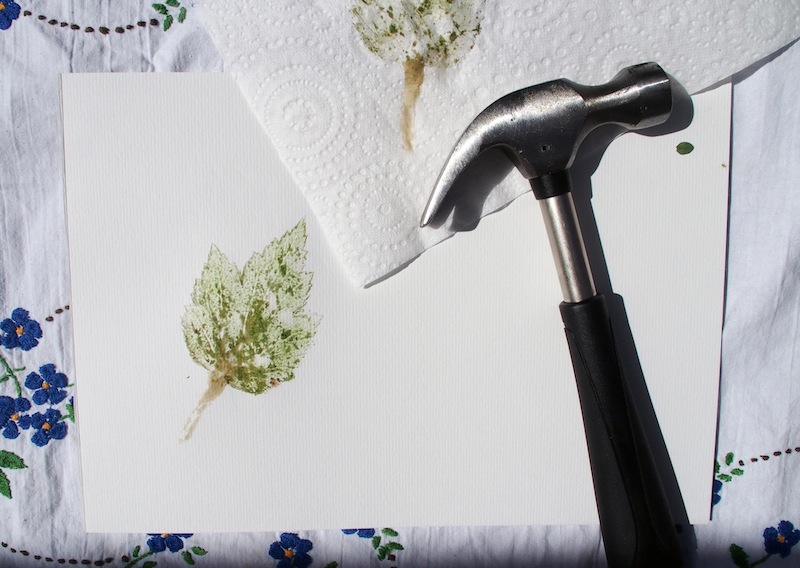
∧∧ Take off the paper towel and peel away the leaf to reveal your lovely stamp!
I made the postcards you see here using watercolour paper because it was thicker and could survive the post as a postcard. Once I'd created my botanical stamp, I just grabbed an old postcard and tore around it to get the size right. I also made some other stamps on standard copying paper, which I'll cut out and paste onto cardboard to create greeting cards.
This was a very child-friendly activity, with my three-year-old and my not-even-two-year-old both helping me, although much to their frustration I insisted on "helping" when it came to the hammering bit.
What do you think? Will you try making these?

