Make this, naturally: blue & botanical Easter Eggs
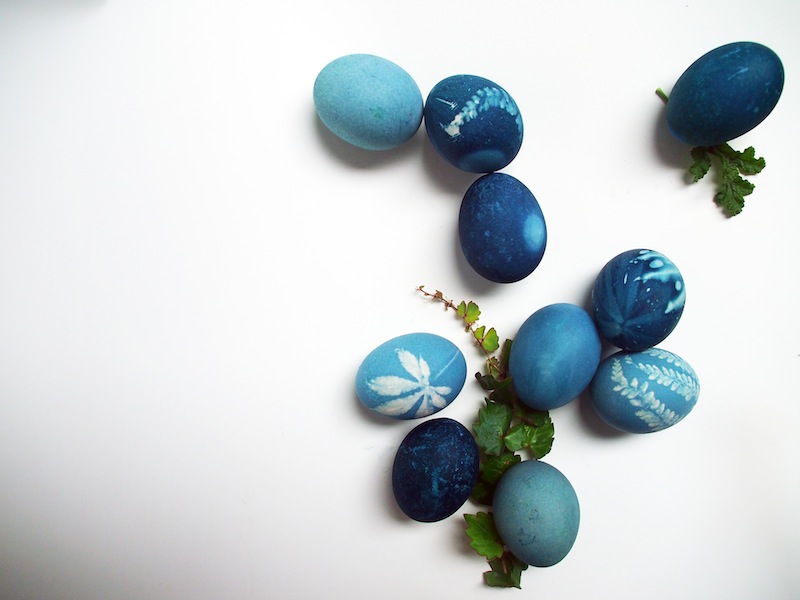
Here's a lovely, last-minute tutorial for dying Easter eggs a stunning blue, and creating pretty, stencilled patterns out of leaves and flowers. Do you want to give it a go? There's still time!
The idea for this project came from my friend Pascale, who does it every year with her children. When they were little, she said, they would gasp with wonder at the patterns created on the eggs. Even now, as almost-grown-up teenagers, they still ask to make these decorative eggs every Easter, hunting through the garden for the "perfect" flower or leaf to create their stencil.
Pascale told me she would use egg dye to create a rainbow array of stenciled eggs, but I couldn't find any in our local shops and from past experience I hadn't had a lot of luck using food dyes. Instead, I found a tutorial for making a brilliant blue dye out of red cabbage, and it turned out to be incredibly easy.
What you'll need:
* Hard-boiled eggs * 1/2 red cabbage * White vinegar * Table salt * An old pair of pantyhose
This project works best on white eggs. If you can't find any, here is a super easy tutorial for whitening eggs, using only white vinegar. If you're going to do this (I did and it worked really well), make sure you hard-boil the eggs before whitening them - it will make them a lot less delicate when you come to rub the colour off.
Step 1: Make your dye
1. Roughly chop up half a red cabbage into pieces about the size of your fist. Toss them into a large saucepan, then pour in two litres of water, and bring it to the boil. Reduce to a simmer, and let it bubble away for half an hour.
2. Strain the now-purple water into a heat-proof bowl, and discard the cabbage. To the water, add four tablespoons of salt and four tablespoons of white vinegar, then stir it around until the salt dissolves.
Step 2: Prepare your eggs
1. While you're making your dye, hard-boil your eggs (and whiten them as per above, if needed)
2. Take a walk around your garden, or along your street. Look for small leaves and flowers in pretty patterns that catch your eye, and gather a little collection to take back inside
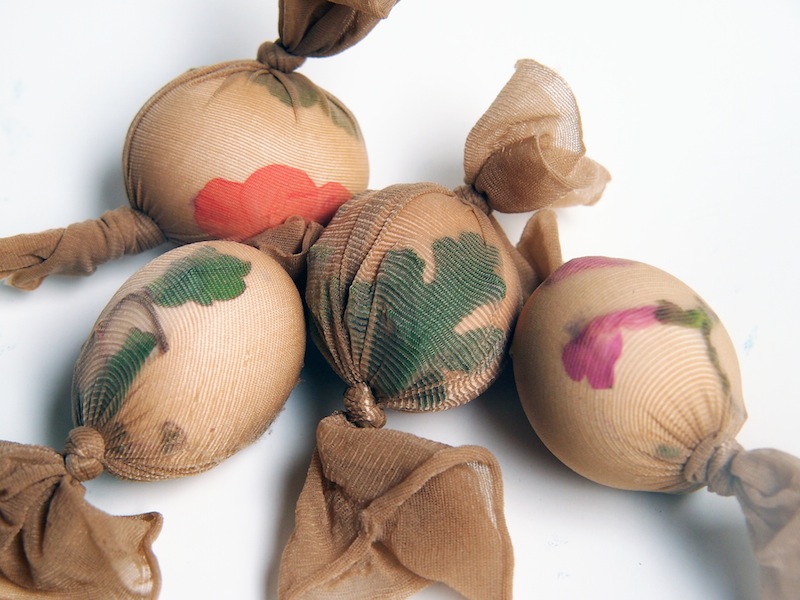
3. Cut off pieces of the old pantyhose, about 10 centimetres long each. Tie a knot in one end.
4. Now take one of your leaves or flowers and press them against one of the eggs. Put the egg and plant into the piece of pantyhose, and pull it tight before tying a knot at the other end (see below). Repeat this step for as many stenciled eggs as you hope to make
Step 3: Wait for the magic to happen
1. Gently submerge your pantyhose-egg in the bowl of dye. You might want to mix things up by submerging some non-stenciled eggs, too, so you have a variety of plain and patterned eggs when you're done
(Pro tip: if your eggs are bit old and you find they're floating, pour the dye into a taller, more narrow vessel - I used a large vase - then once the eggs are all in the dye, lower a piece of cloth over the top. I used a Chux wipe. As the cloth soaks up the dye, it submerges, pushing the eggs down with it without marking or scratching them the way a more solid weight would do)
2. Leave the eggs in the dye for as long as you like. About an hour will give you a lovely, pale, blue. Several hours or overnight will turn them indigo
3. When you take the eggs out, gently cut them out of the pantyhose, and lift away the plant. It should reveal a beautiful, stenciled pattern
4. Place the eggs on a wire cake-rack to dry completely, before using them for your Easter decorations
Two final words of advice:
1. After about 24 hours, the dyed eggs turn from blue to more of a turquoise or aqua. They're still beautiful, but bear this in mind if you're being all strategic with your colour scheme
2. Ideally you'll want to do this project on a warm day with the windows open: our house really stank of cabbage!
Happy Easter dear friends, if this is something you celebrate. What are your plans? We're off to visit family in Bendigo, then helping to host an Easter egg hunt in our local park, followed by a roast lunch for 13 friends in our home, and then a day off on Monday to recover. See you on Tuesday!


