A recipe for mail-art
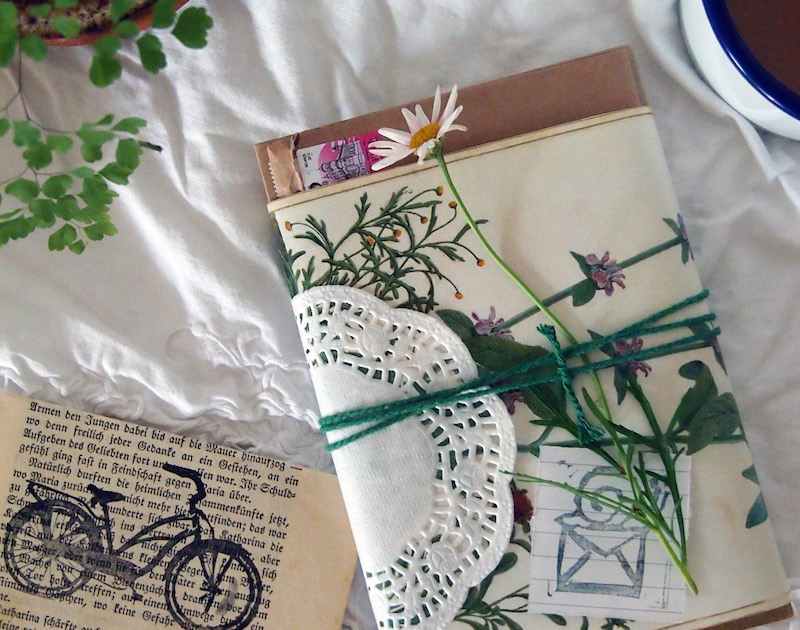


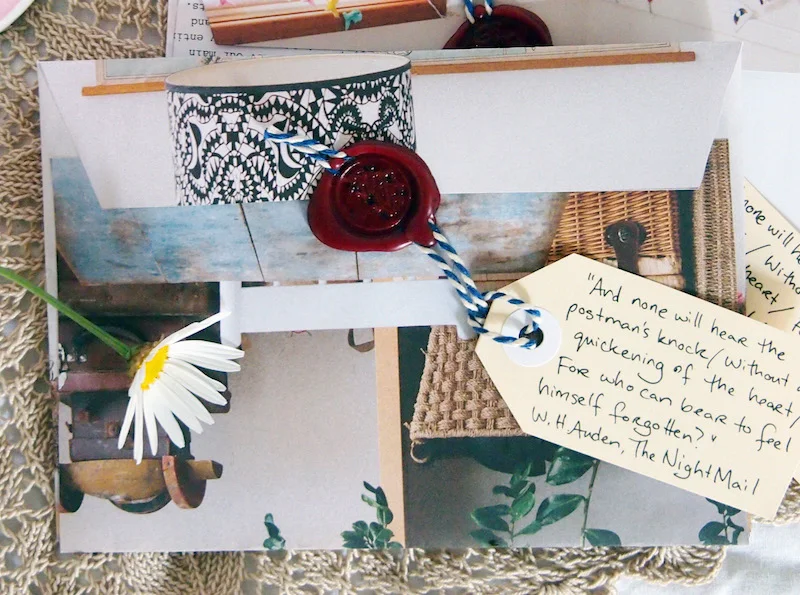
I have been so busy making mail lately! Cutting out little packets of handmade stickers and labels, collecting vintage stamps, hunting for postcards old and new, photocopying old recipes and household tips that once belonged to my great-grandmother, then bundling them all up together in handmade envelopes from old catalogue pages, melting green or red wax over the fold, and sealing them shut with a big, bold N.
Lately I've noticed that a lot of you guys have been using the comments section of this blog to ask for tips and tutorials on how to create mail-art. So I'll do my best to oblige you in this post but, to be honest, the beauty of mail-art is that there are no rules and no standards. No tests to pass, no clubs to join, nobody to judge the "artistry" or talent of your work. Or mine. If you put some creative effort into it, and if you call it mail-art, it is mail-art.
That being said, here's the process of how I personally choose to whip up a batch of mail-art (and if you're new to this blog, samples of the finished products are here).
Ingredients:
* Brown kraft paper * Scissors * Glue-stick * Pencil (I use 2b) * Eraser * Pencil-sharpener * Black felt-tip pen (waterproof) * Watercolour paints * Gouache paints * A variety of watercolour paint-brushes * Postage stamps * "Via Airmail" stickers (if applicable) * Sticky-tape * Washi-tape (optional) * Sealing wax and seal (optional)
Method:
Step 1: Most of the time I hand-make my envelopes out of brown kraft paper. To do this, I open up an existing envelope and use it as a template, to trace onto the kraft paper. Cut it out, and glue the sides together. Use a glue-stick or paste rather than liquid glue, so you don't end up with lumps and bumps in your envelope.
TIP: I like to make the envelopes so that the rough side is facing outwards, rather than the shiny side, because it takes paint better later on when you come to that
Step 2: I roughly draw my design onto the front of the envelope, in pencil. This means sketching a drawing - a plant, an animal, a cup of tea, and working the address into the design. Sometimes I write the recipient's name and address next to the drawing, but if possible, I try to fit it into the actual drawing, such as onto the petals or leaves of a flower, a mug of coffee, a speech bubble, the pots of a series of house-plants.
TIP: In your design, leave enough room on the top right of the envelope to fit one or more stamps later on
Step 3: Now I go over my drawing with a firmer hand, using a black, felt-tipped pen. I use the Sakura Micron brand, and have a pack of pens that range from point 0.1 to 0.8 in thickness, depending on what kind of line I hope to create.
TIP: Always use water-resistant ink. This way when you paint them the ink won't run, nor will the essential details (addresses, for example!) run if the letter gets wet in the rain
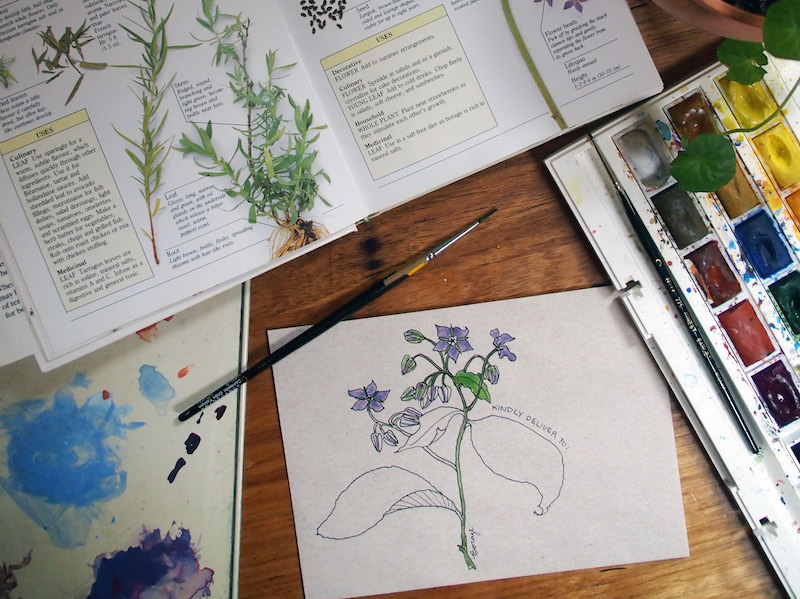
Step 4: Next, I paint my design using a mixture of watercolours (Winsor & Newton) and gouache (Reeves). Gouache creates a thicker, chalkier, brighter colour than watercolour, especially on the brown paper, so I use these paints where I need the colour to stand out. I use watercolours when I want more subtlety. To help the postie read the address in my mail-art, I aim to make the parts of the picture containing addresses brighter and lighter in colour than the others.
TIP: When sending mail overseas, it's important that the destination country is big and clear and, if possible, in the same area or colour as the rest of the address, so it won't be missed
Step 5: Once the paint is dry, I pull my felt-tip pens back out, and go over the outlines again to give the drawing definition. This is particularly important to ensure the address is clear and stands out, even more-so if I've used gouache, because if applied thickly it can be quite opaque, and the writing needs to be reinforced over the top.
TIP: If I feel the postie may need more direction to send this mail where it is supposed to go, I draw little arrows pointing to the start of the address, and write the words "Kindly deliver to" above the recipient's name
Step 6: Now I put the stamps on the front-right. Rather than use those ugly Australia Post printed labels, I prefer to use lots of stamps to make up the postage. If they won't fit on the front without ruining my design, I continue them over onto the back of the envelope.
TIP: If you need to do this, too, make sure that there is at least one stamp where it is supposed to be, and write the words "More stamps over" to ensure your postie knows to look there
Step 7: If I'm sending my letters overseas, I affix a "Via Airmail" sticker to the envelope. It's supposed to go on the top left-hand side, but fitting it anywhere is usually enough to alert the postie to the fact that this is international mail.
TIP: If your mail is travelling domestically, don't stick a "Via Airmail" sticker on it. I've made that mistake before, and the postie has confused my letter for international mail and not known where to deliver it
Step 8: Almost done! Next, I clearly print my return address on the back of the envelope. I had a stamp custom made to do this and I don't know why, but it gives me a lot of primitive pleasure to ink it and stamp it onto each letter.
TIP: If you've needed to add extra stamps to the back of your envelope as per Step 6, make sure you write the words "Please return to" or "From" above your return-address, so the postie doesn't mistake it for the destination address, surrounded as it is by all those stamps
Step 9: Finally, I fill the envelope with all the contents I have created and collected, then close up the envelope with sticky-tape. This doesn't look very good so, if possible, I then cover the tape with something pretty, like wash-tape, a handmade sticker label, or another wax seal.
TIP: Make sure there are no loose parts of your envelope that could catch on things and tear during its long journey through the post. Tape everything down
And that's it, my process for making mail-art from start to finish.
How about you? How do you like to decorate your letters? What ever you do, please know this one thing: if you get creative with your mail, you are a mail-artist.
ps. If you're in the mood for even more letter-writing inspiration, I want to remind you about my letter-writing and mail-art e-course, "The Most Beautiful Letter You Have Ever Written."

Over four weeks, I will guide you through multiple methods of making beautiful mail-art and creative, handmade stationery; teach you the art of writing and storytelling; help you forge personal connections in your letters and find pen-pals if you want them; and share time-management tips so even the busiest people can enjoy sending and receiving letters. There's also a host of downloadable resources, and access to my own private mail-art pen-pal group. Registrations are open right now, and you can find out more here.